2.2 Working with Images
This tutorial will introduce the image element and how to use that element to get images to display on your pages. This tutorial will use Exercise 2 as the example for adding images.
Step 1: Open Your Repository in Atom
Start with opening up the Github App and making sure you have your repository as the Current Repository and that the Current Branch is gh-pages. If those two pieces of information are correct, click the “Open in Atom” button in the middle of the screen.
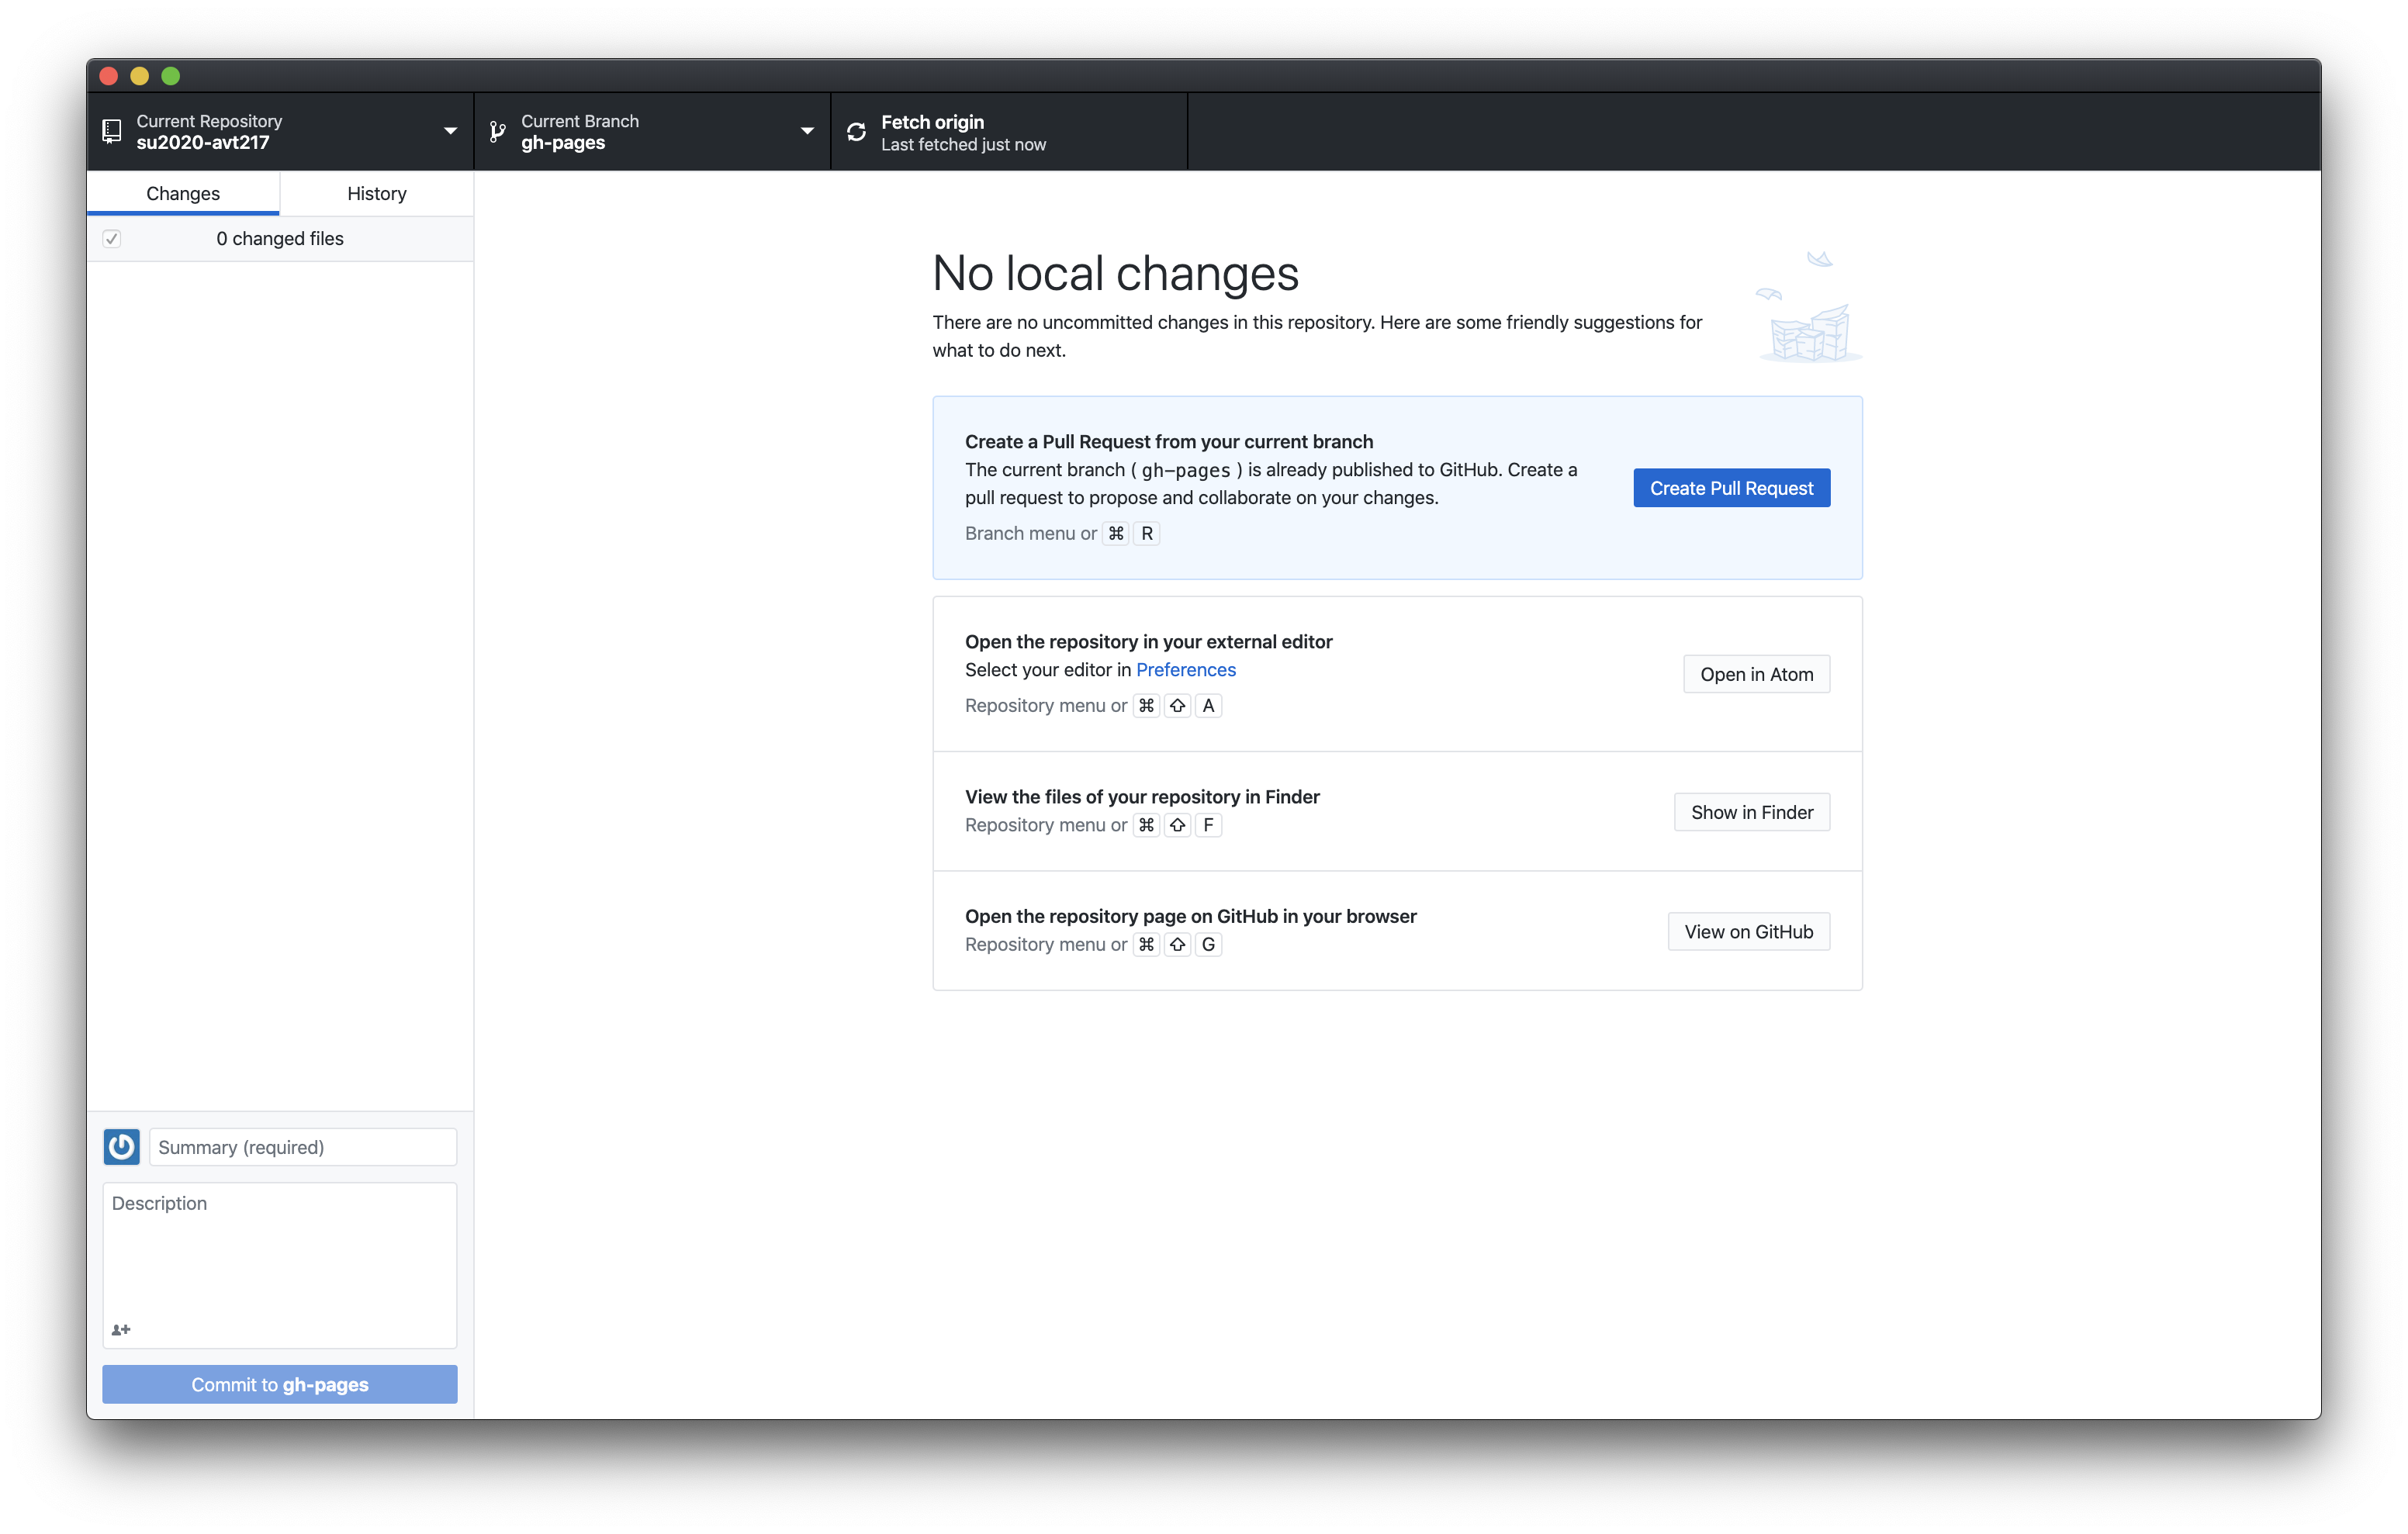
This should open up Atom with a screen that looks something like the below.
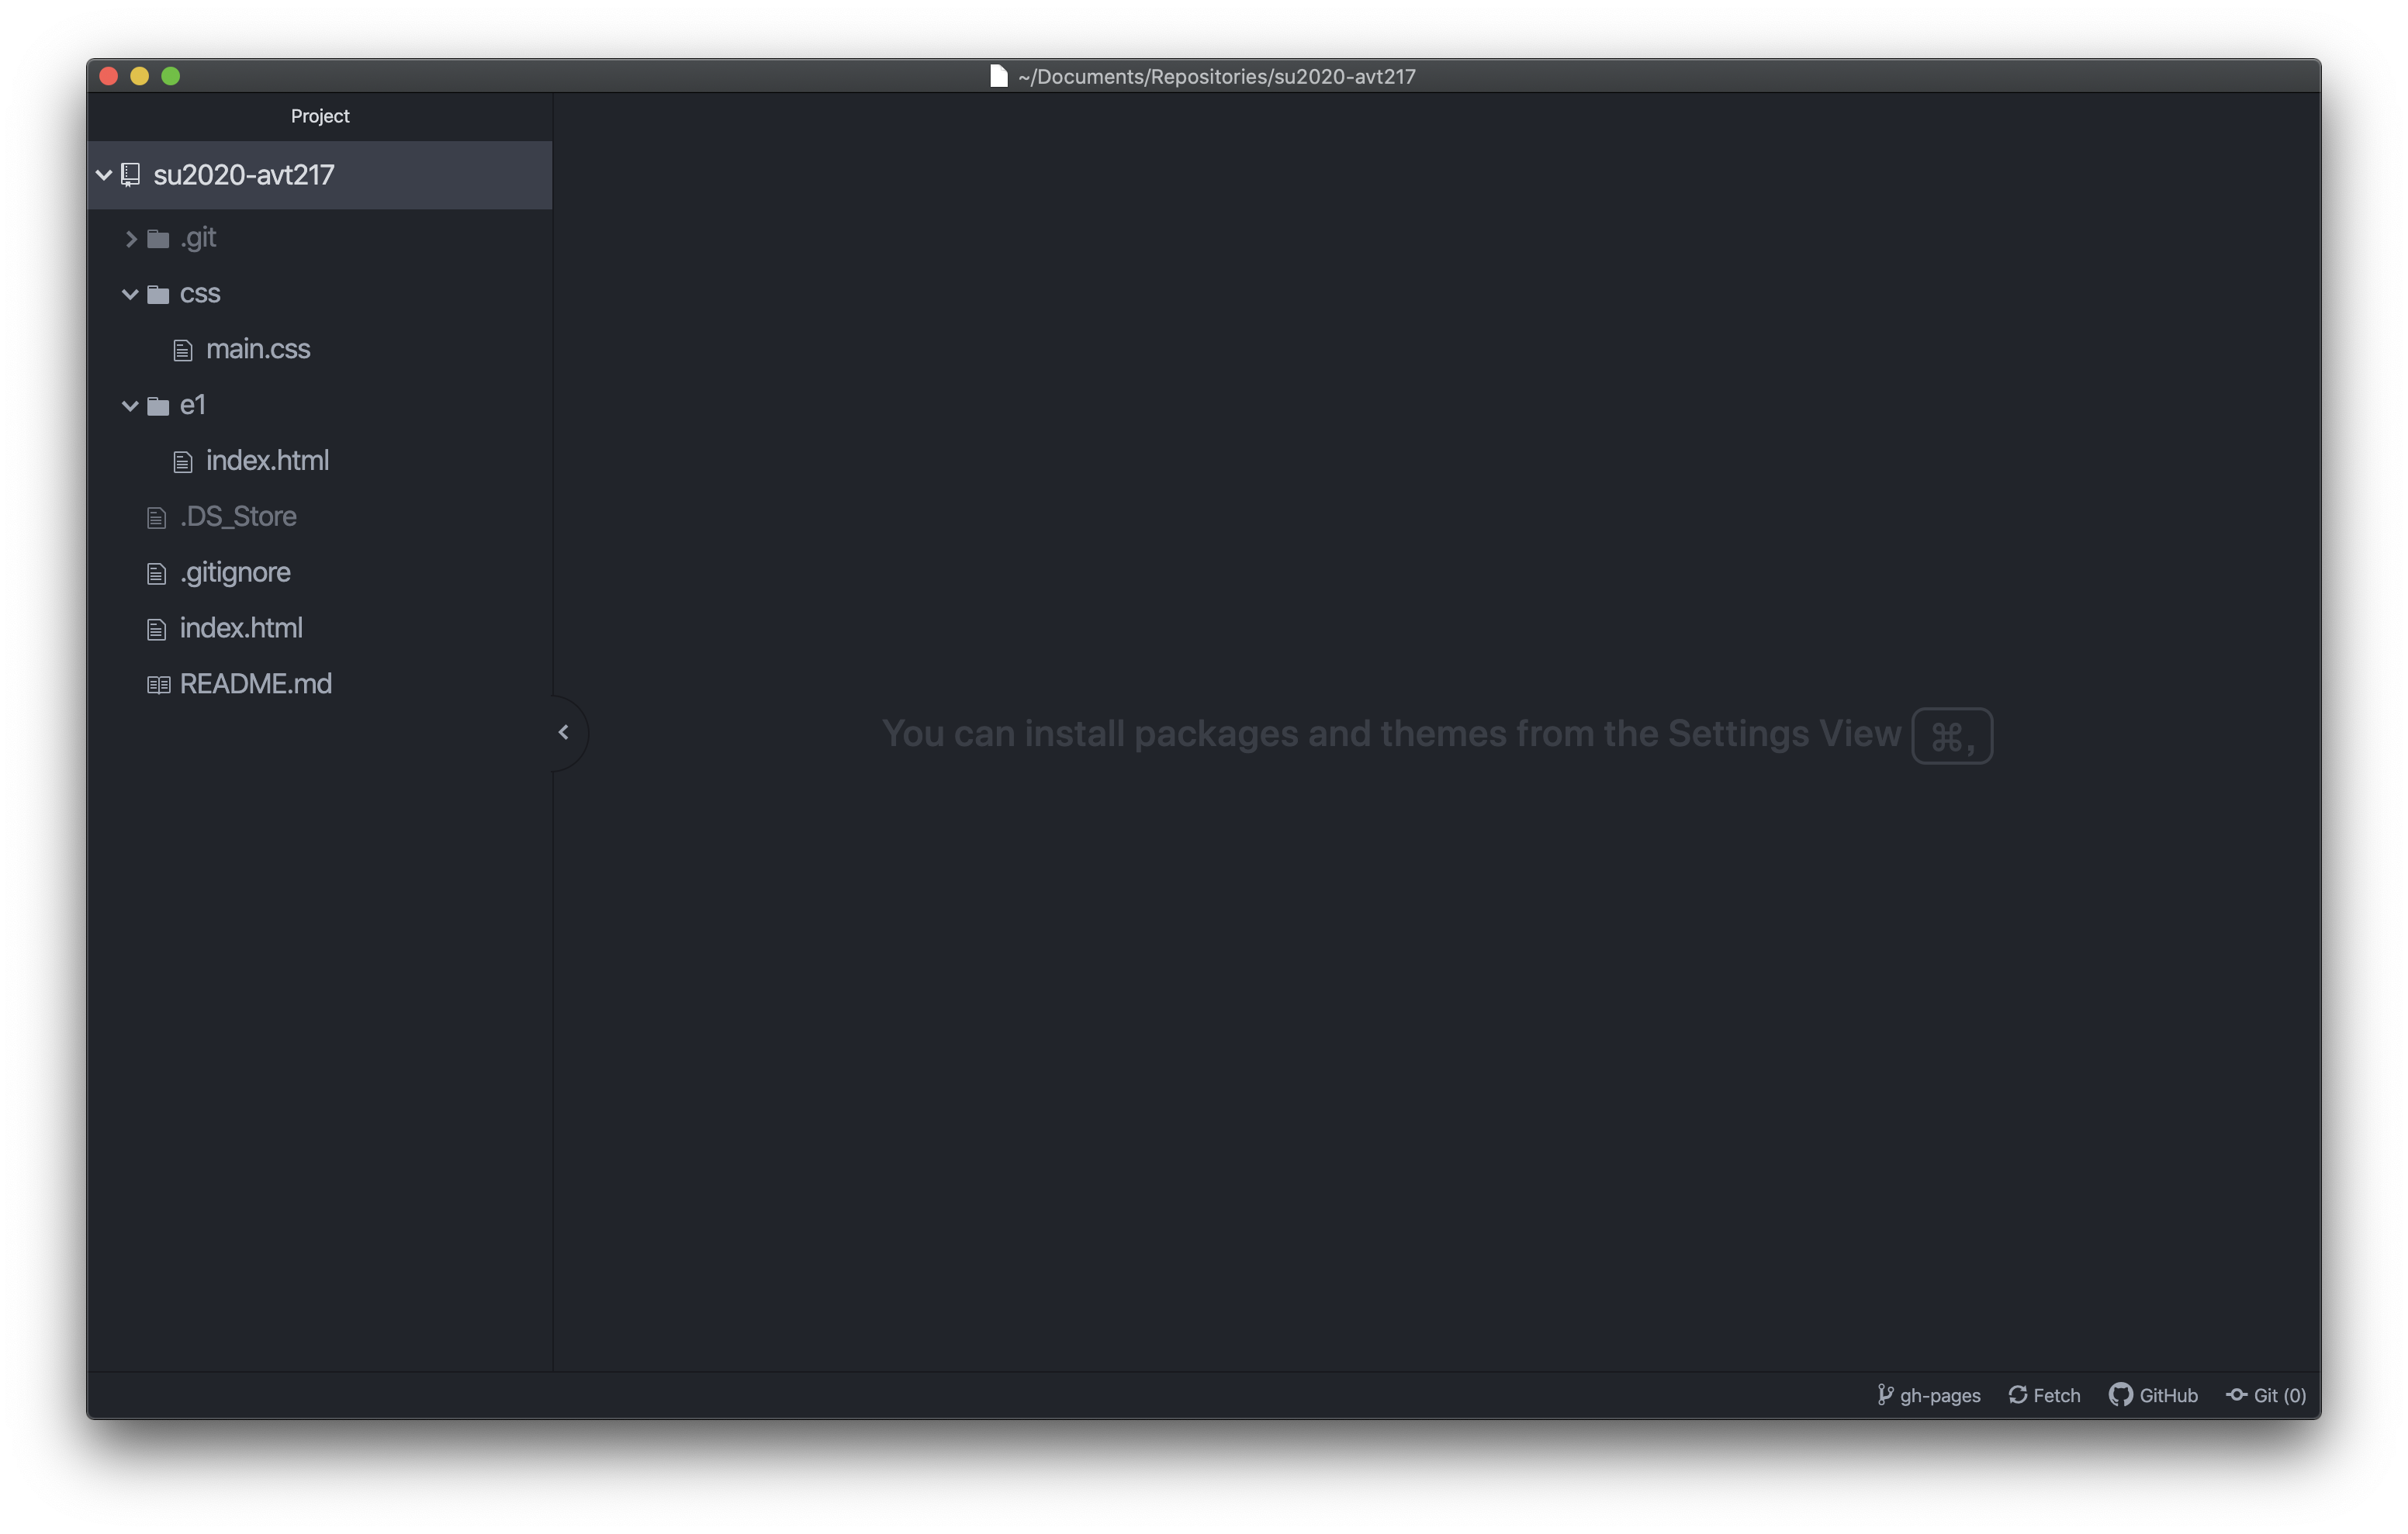
A few notes here. If you don’t see the project panel on the left of the window you can go to View > Toggle Tree View to open it up. If you see files that start with a period, like .gitignore or .DS_Store you can ignore those. They are hidden files that you probably don’t see in your repository but show up in Atom. This view is also assuming you are looking at this tutorial after finishing the 2.1 tutorial. If you have other files or folders in your repository this will look different.
Step 2: Add a Folder, HTML File, and Images
The nice thing about Atom is you can add folders and files right from the tree view in the left panel. If you right click in that panel you will see the pop out in the image below.

Step 2a: Add the Exercise 2 Folder
In that pop out click the New Folder option and in the pop up that says “Enter the path for the new folder” type a folder name for your exercise 2 folder, e2 is nice, short, and descriptive. Hit Enter to create the folder.

Step 2b: Add an HTML File
Now right click on the folder you just created but this time select New File. Another pop up will appear that should already be filled with the folder name then a forward slash. If you don’t see that folder name you did not right click on the folder you just made. You want to add a new HTML file to this folder so what do you think it should be called? If you said index.html you are correct. Type the file name and then hit enter to create the file.
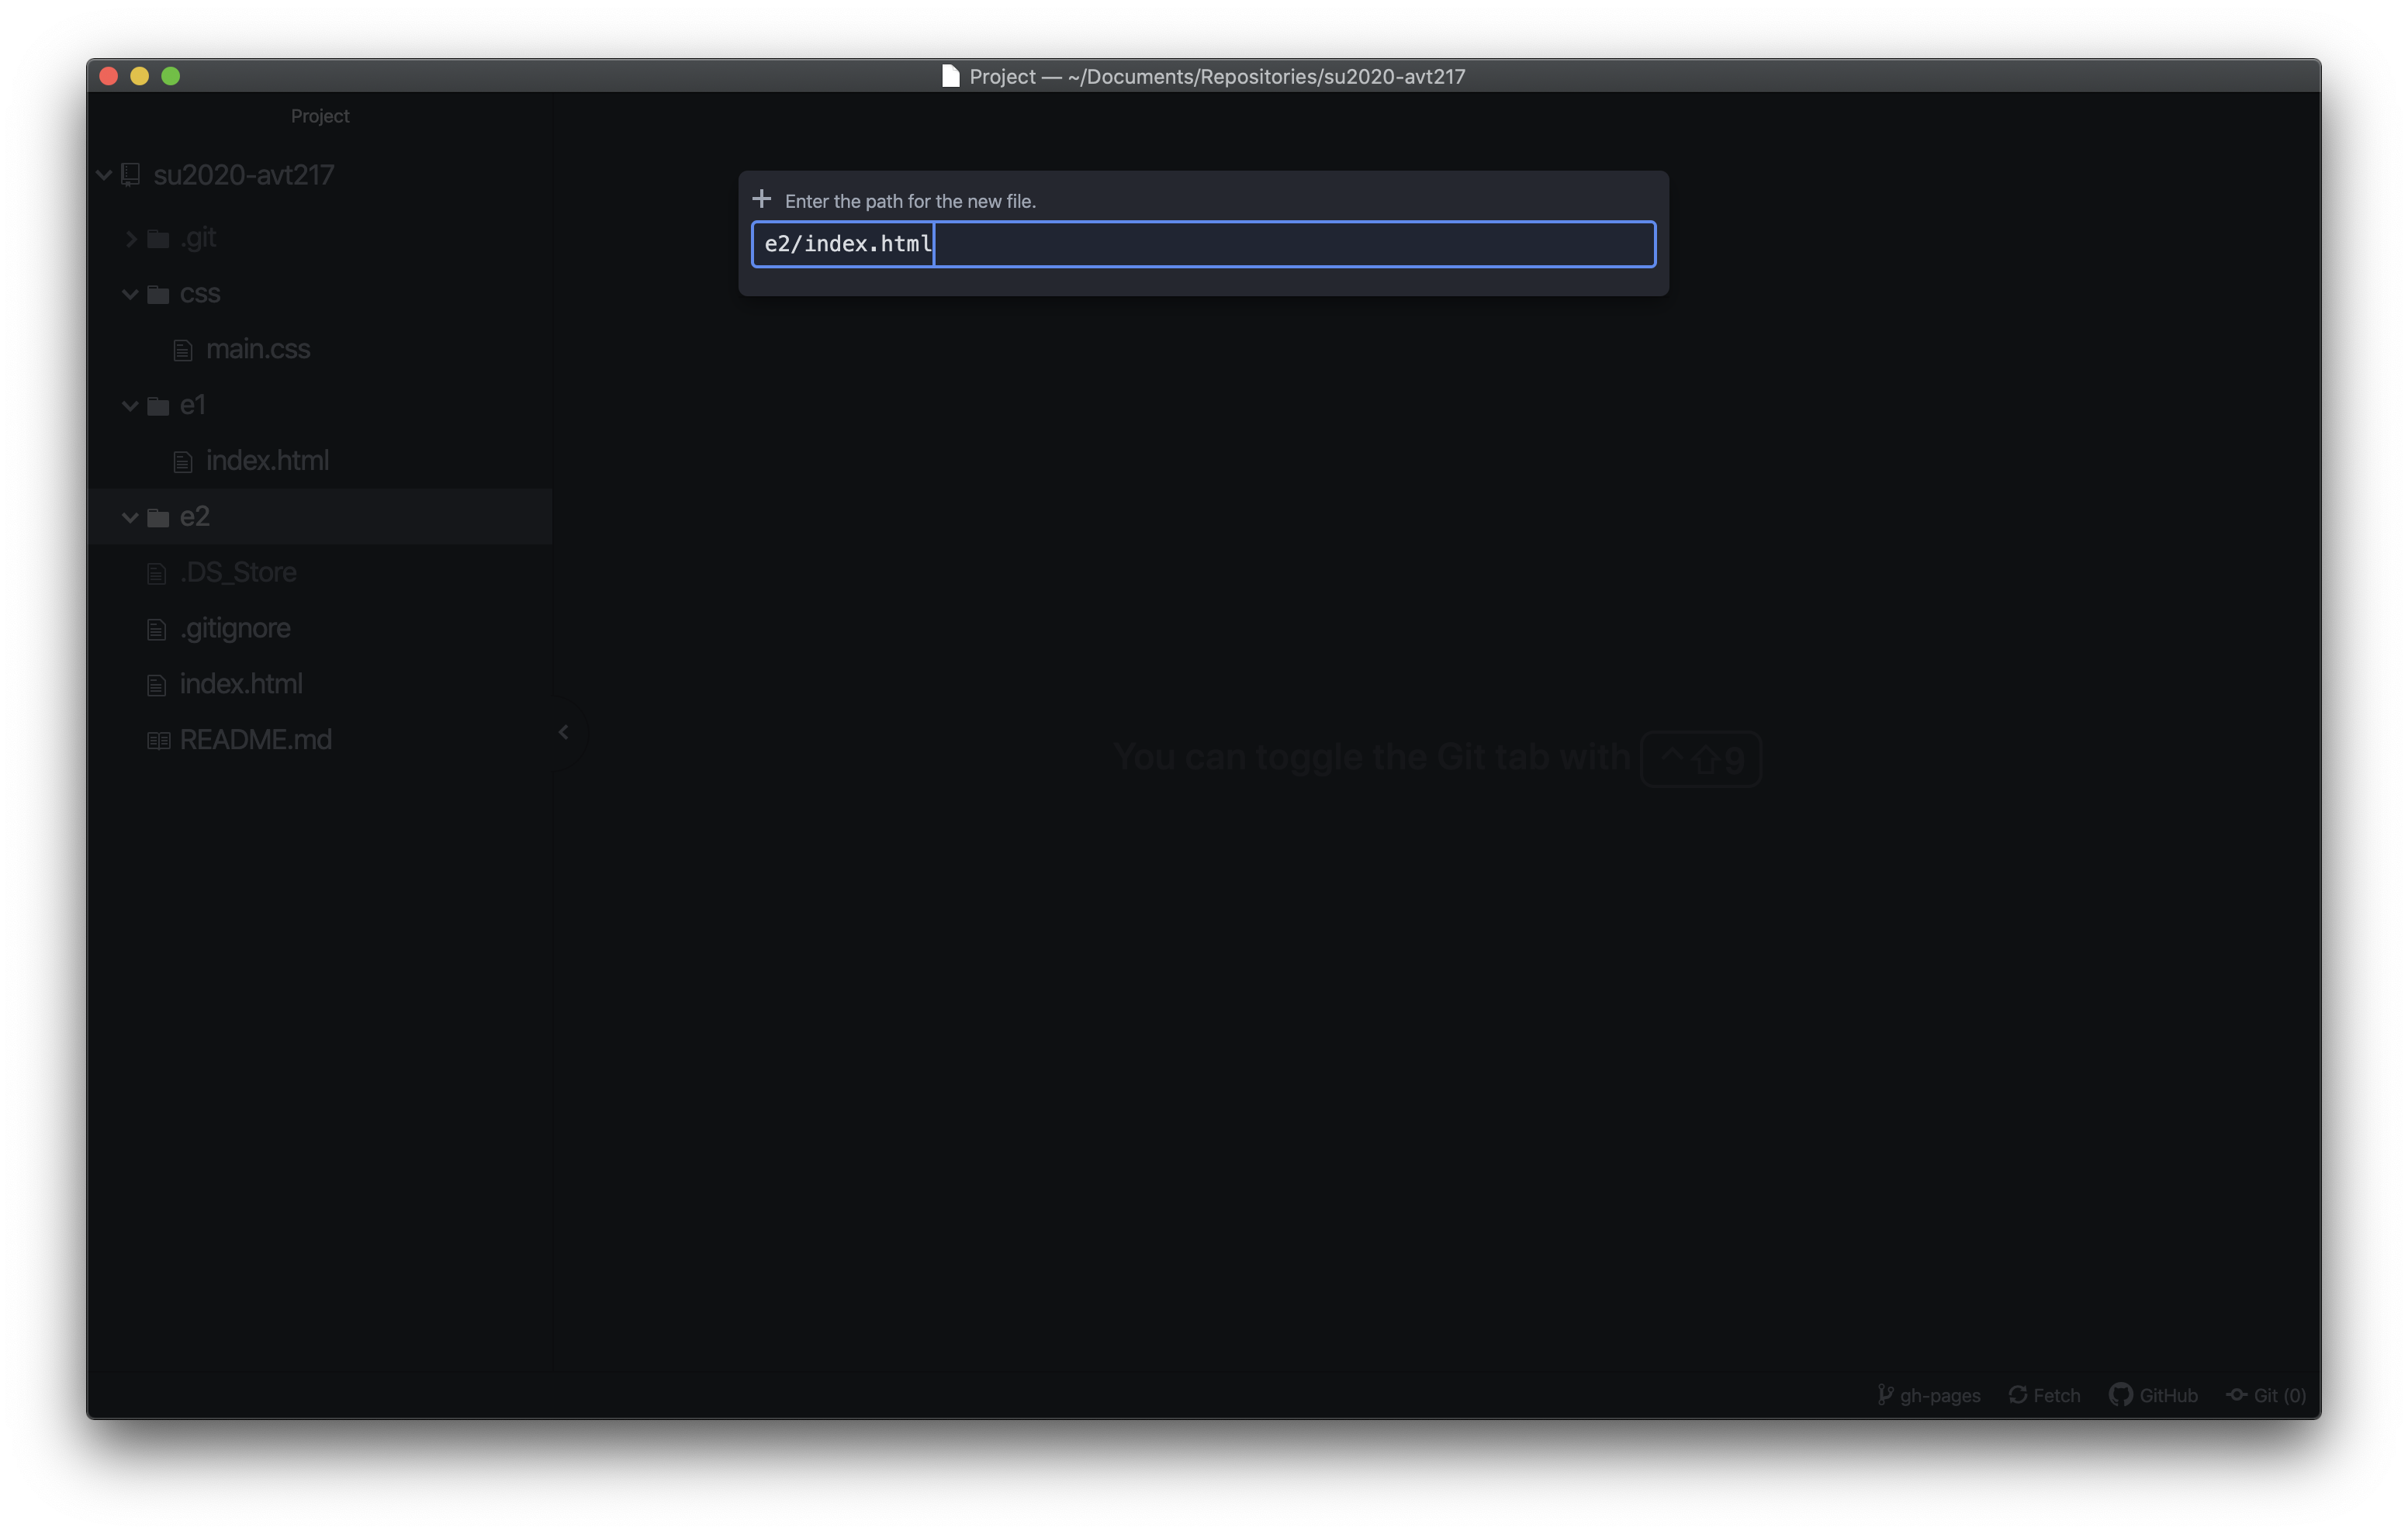
When you hit enter Atom should create the file and also open it so your tree view should have a new exercise 2 folder and an HTML file inside of that.
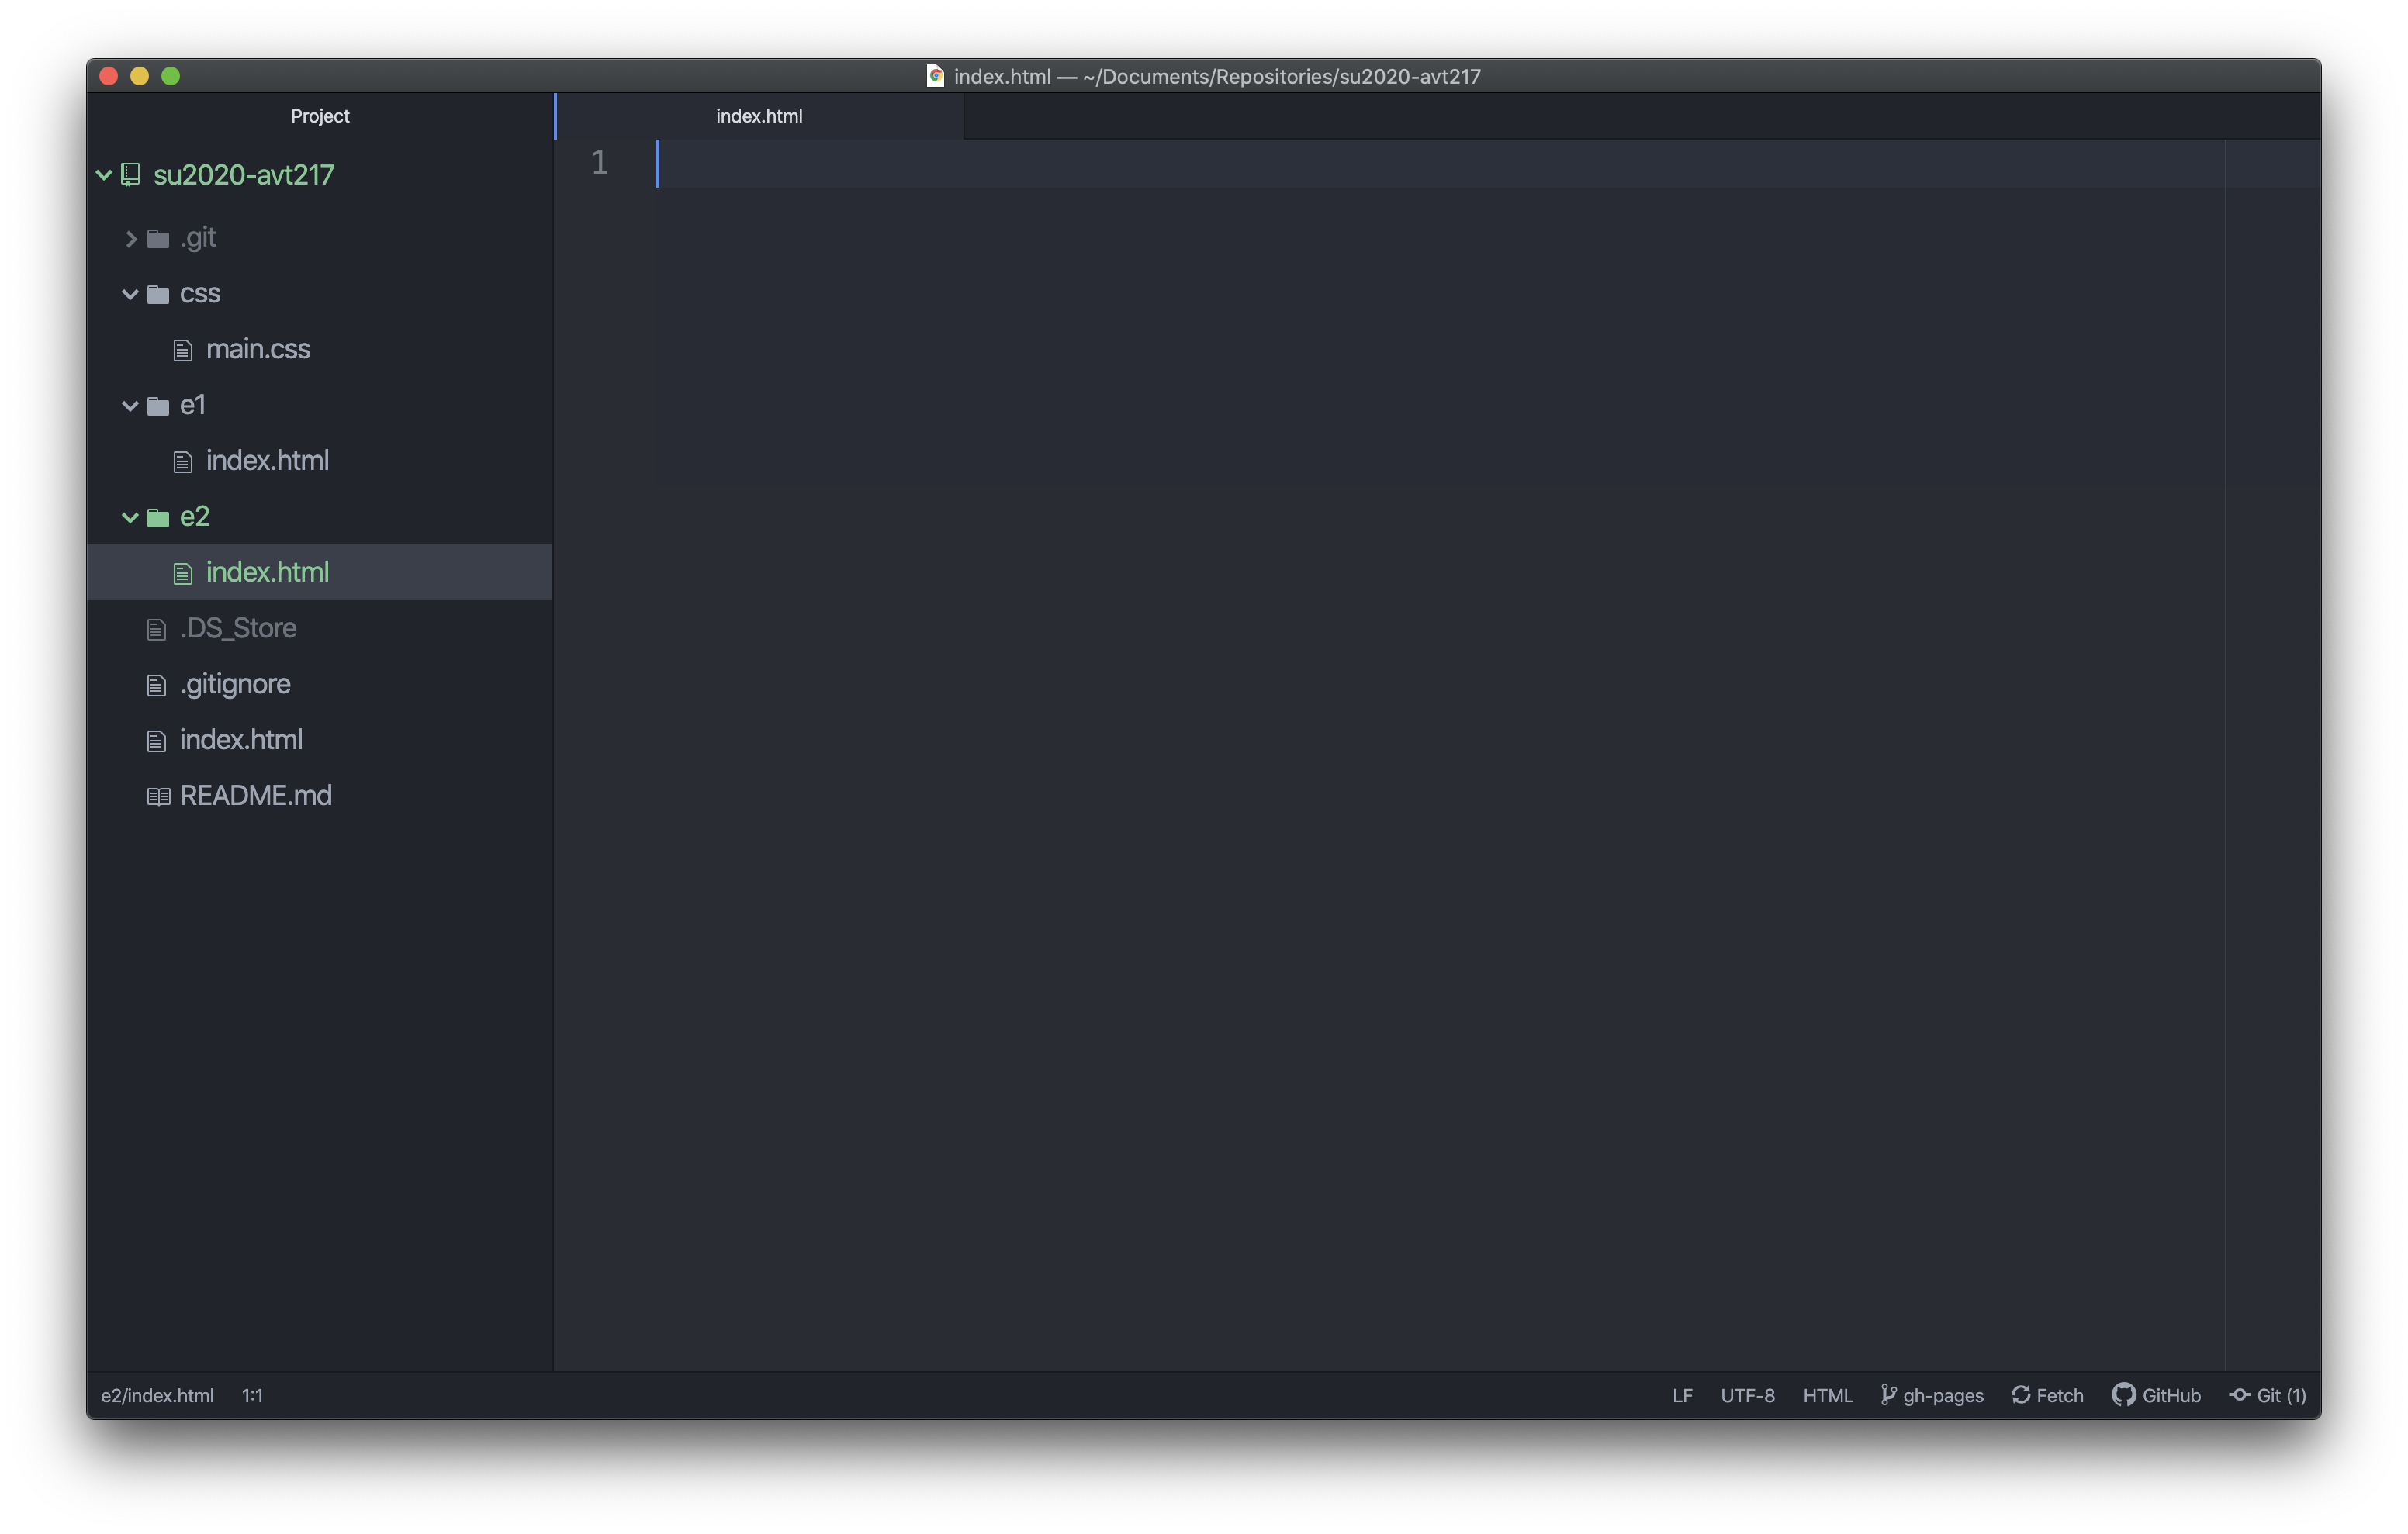
Step 2c: Add an Image Folder and Images
Once again right click on the Exercise 2 folder you created and add a new folder named images.
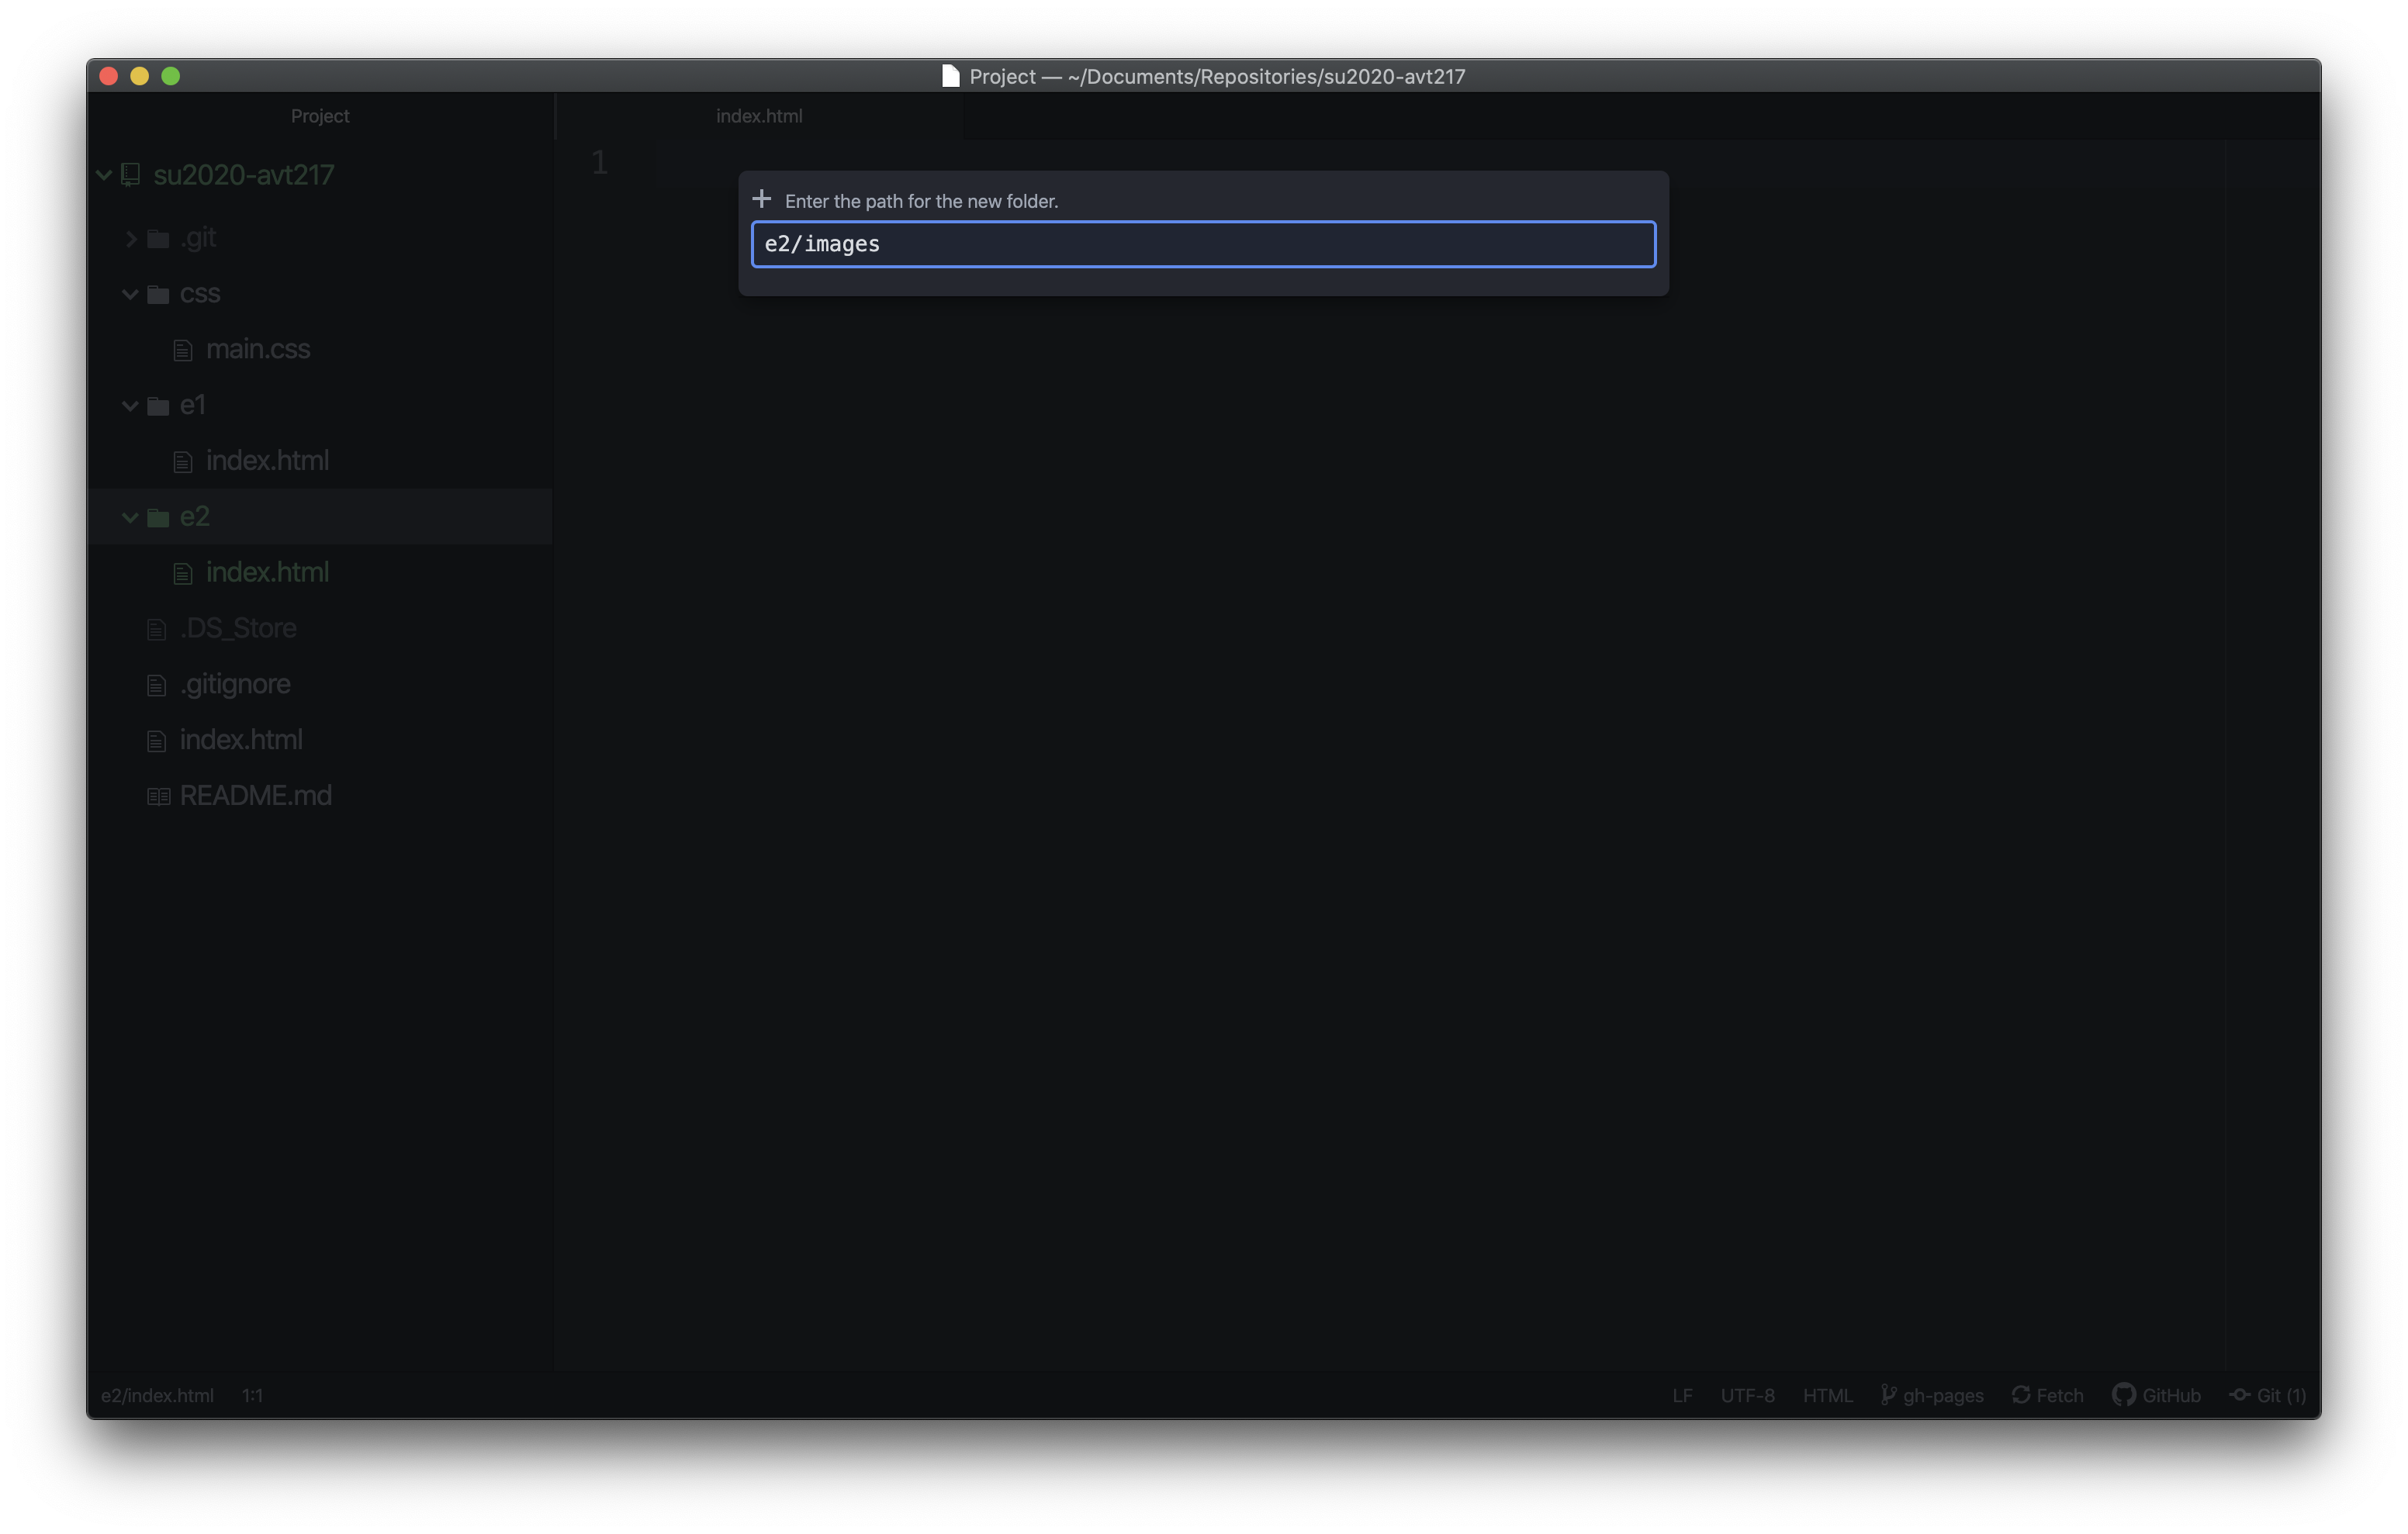
Now that the images folder is created, add your images to that folder. You can do this a bunch of different ways but the easiest might be opening two windows with the files and dragging them from the old location to the new or copying from the old location and pasting to the new location. However you want to do it the goal is to get the 5 PNG files into the images folder.
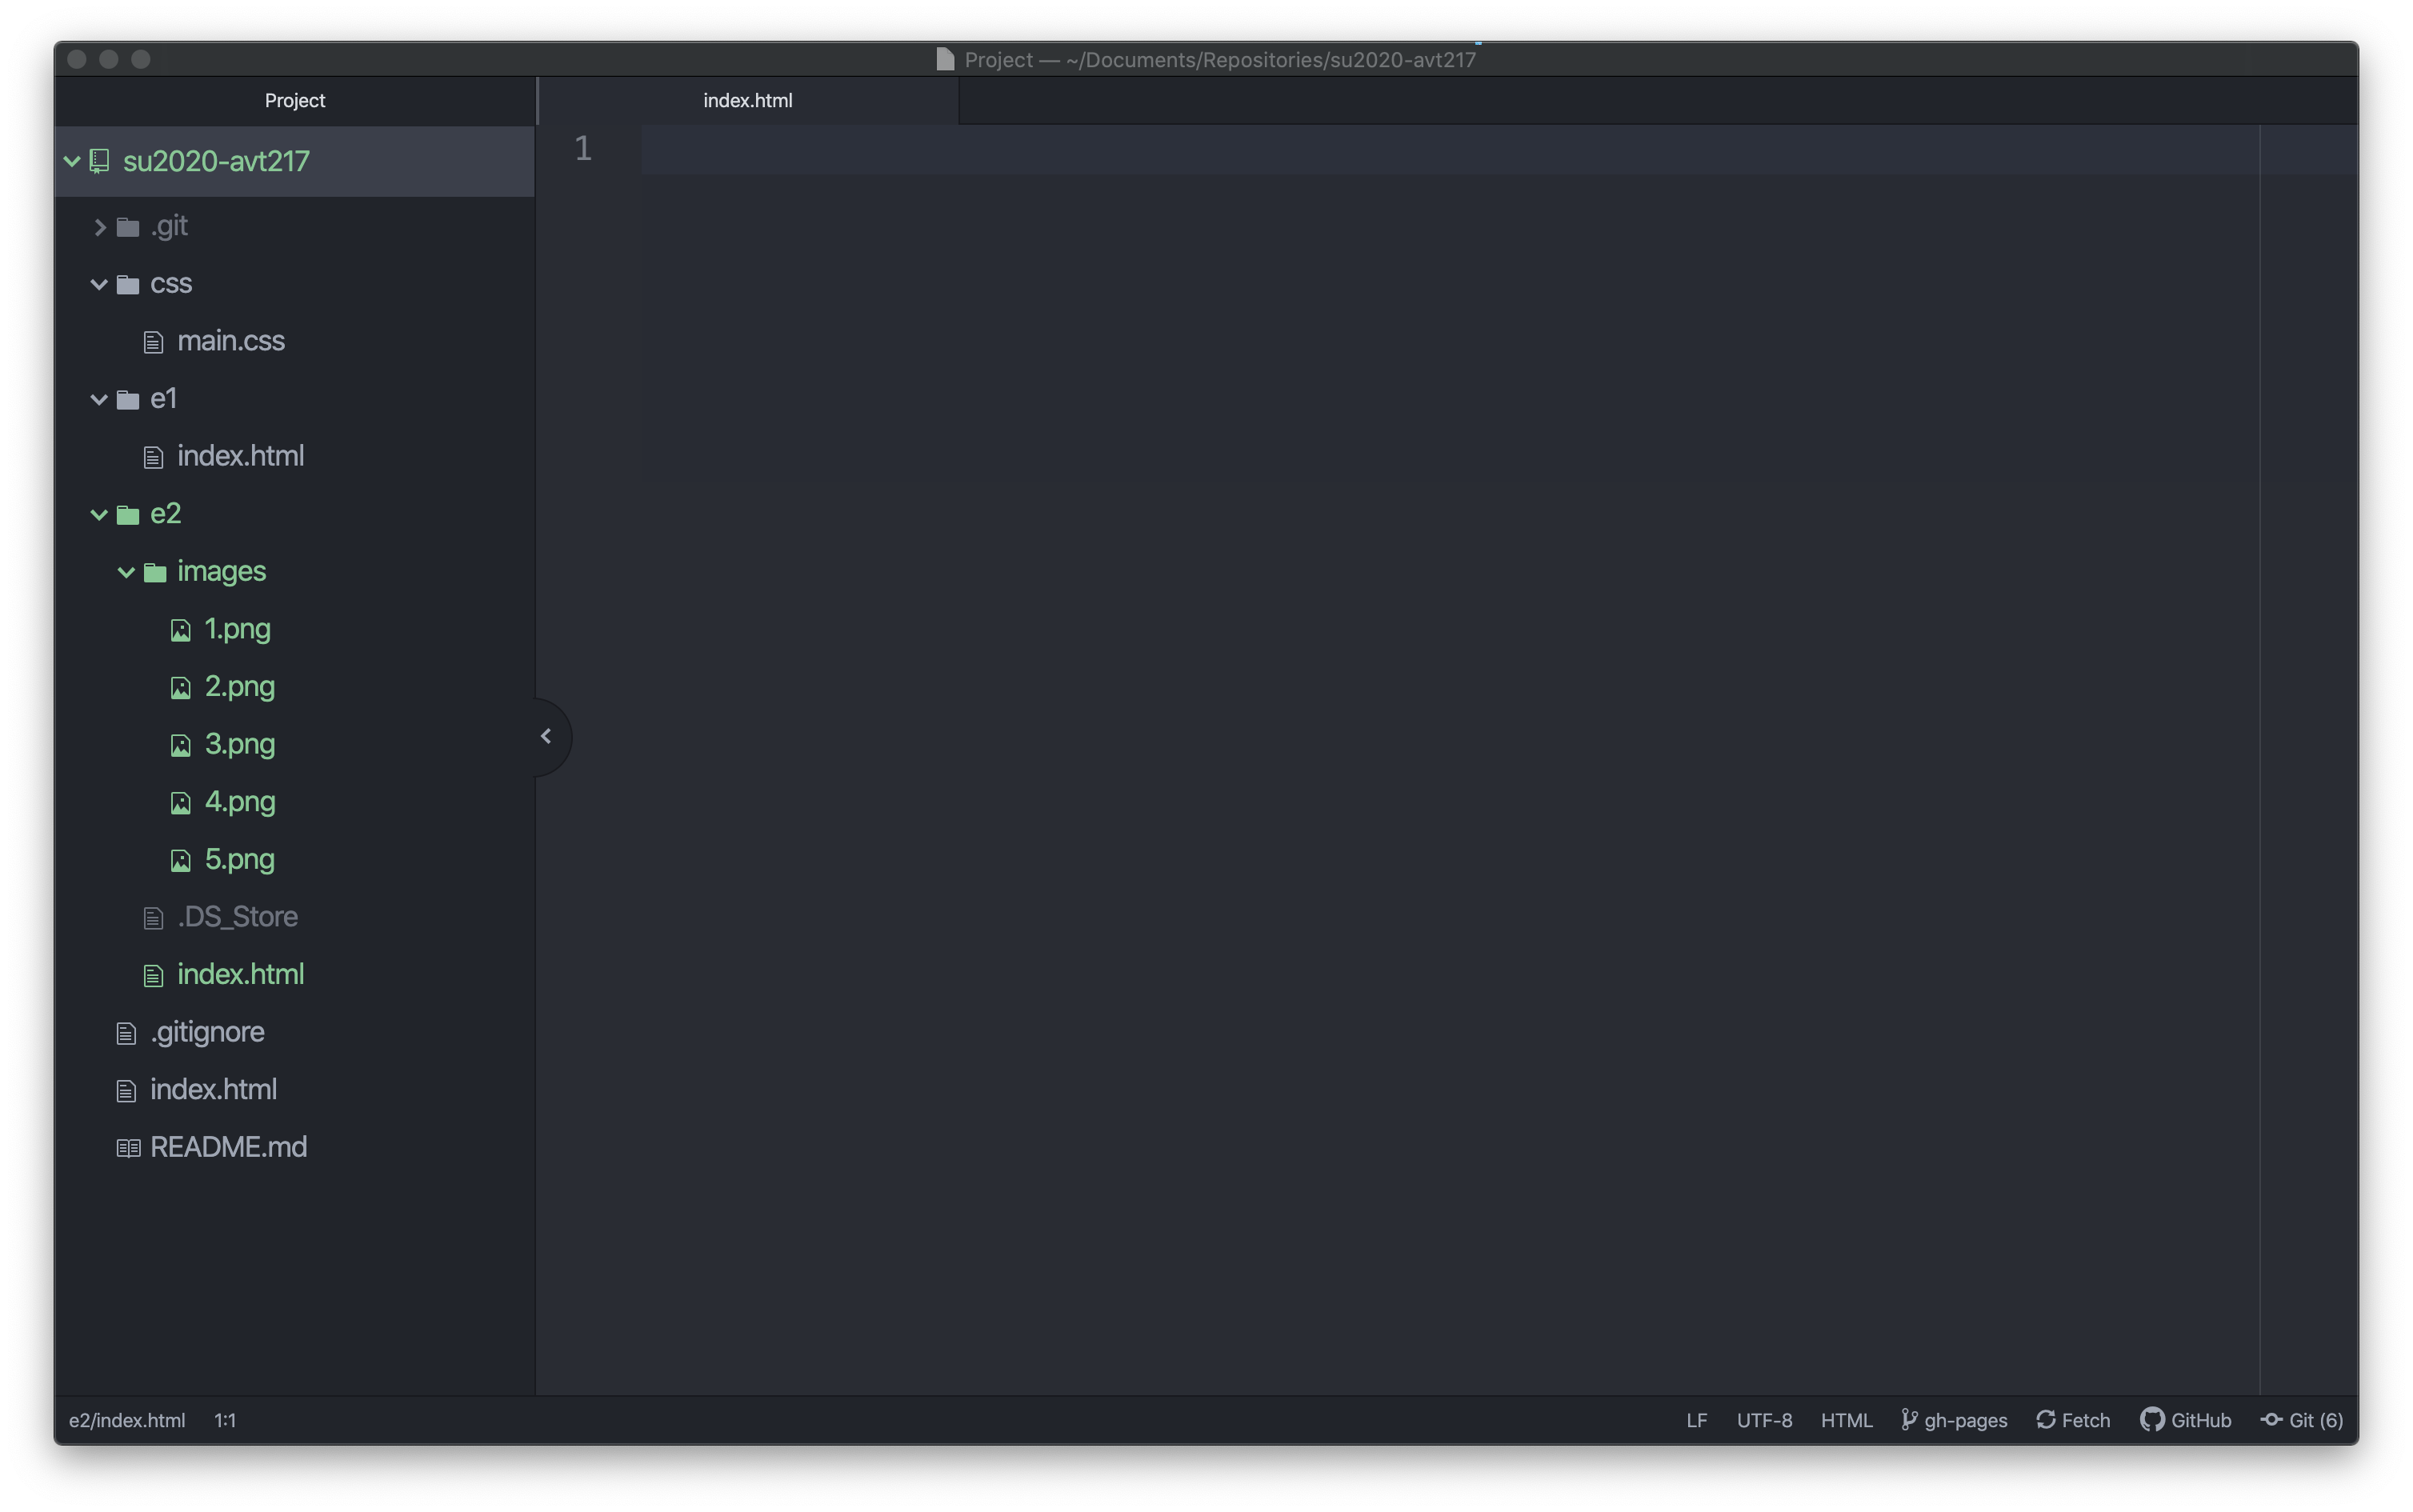
Step 3: Add in Basic HTML Setup
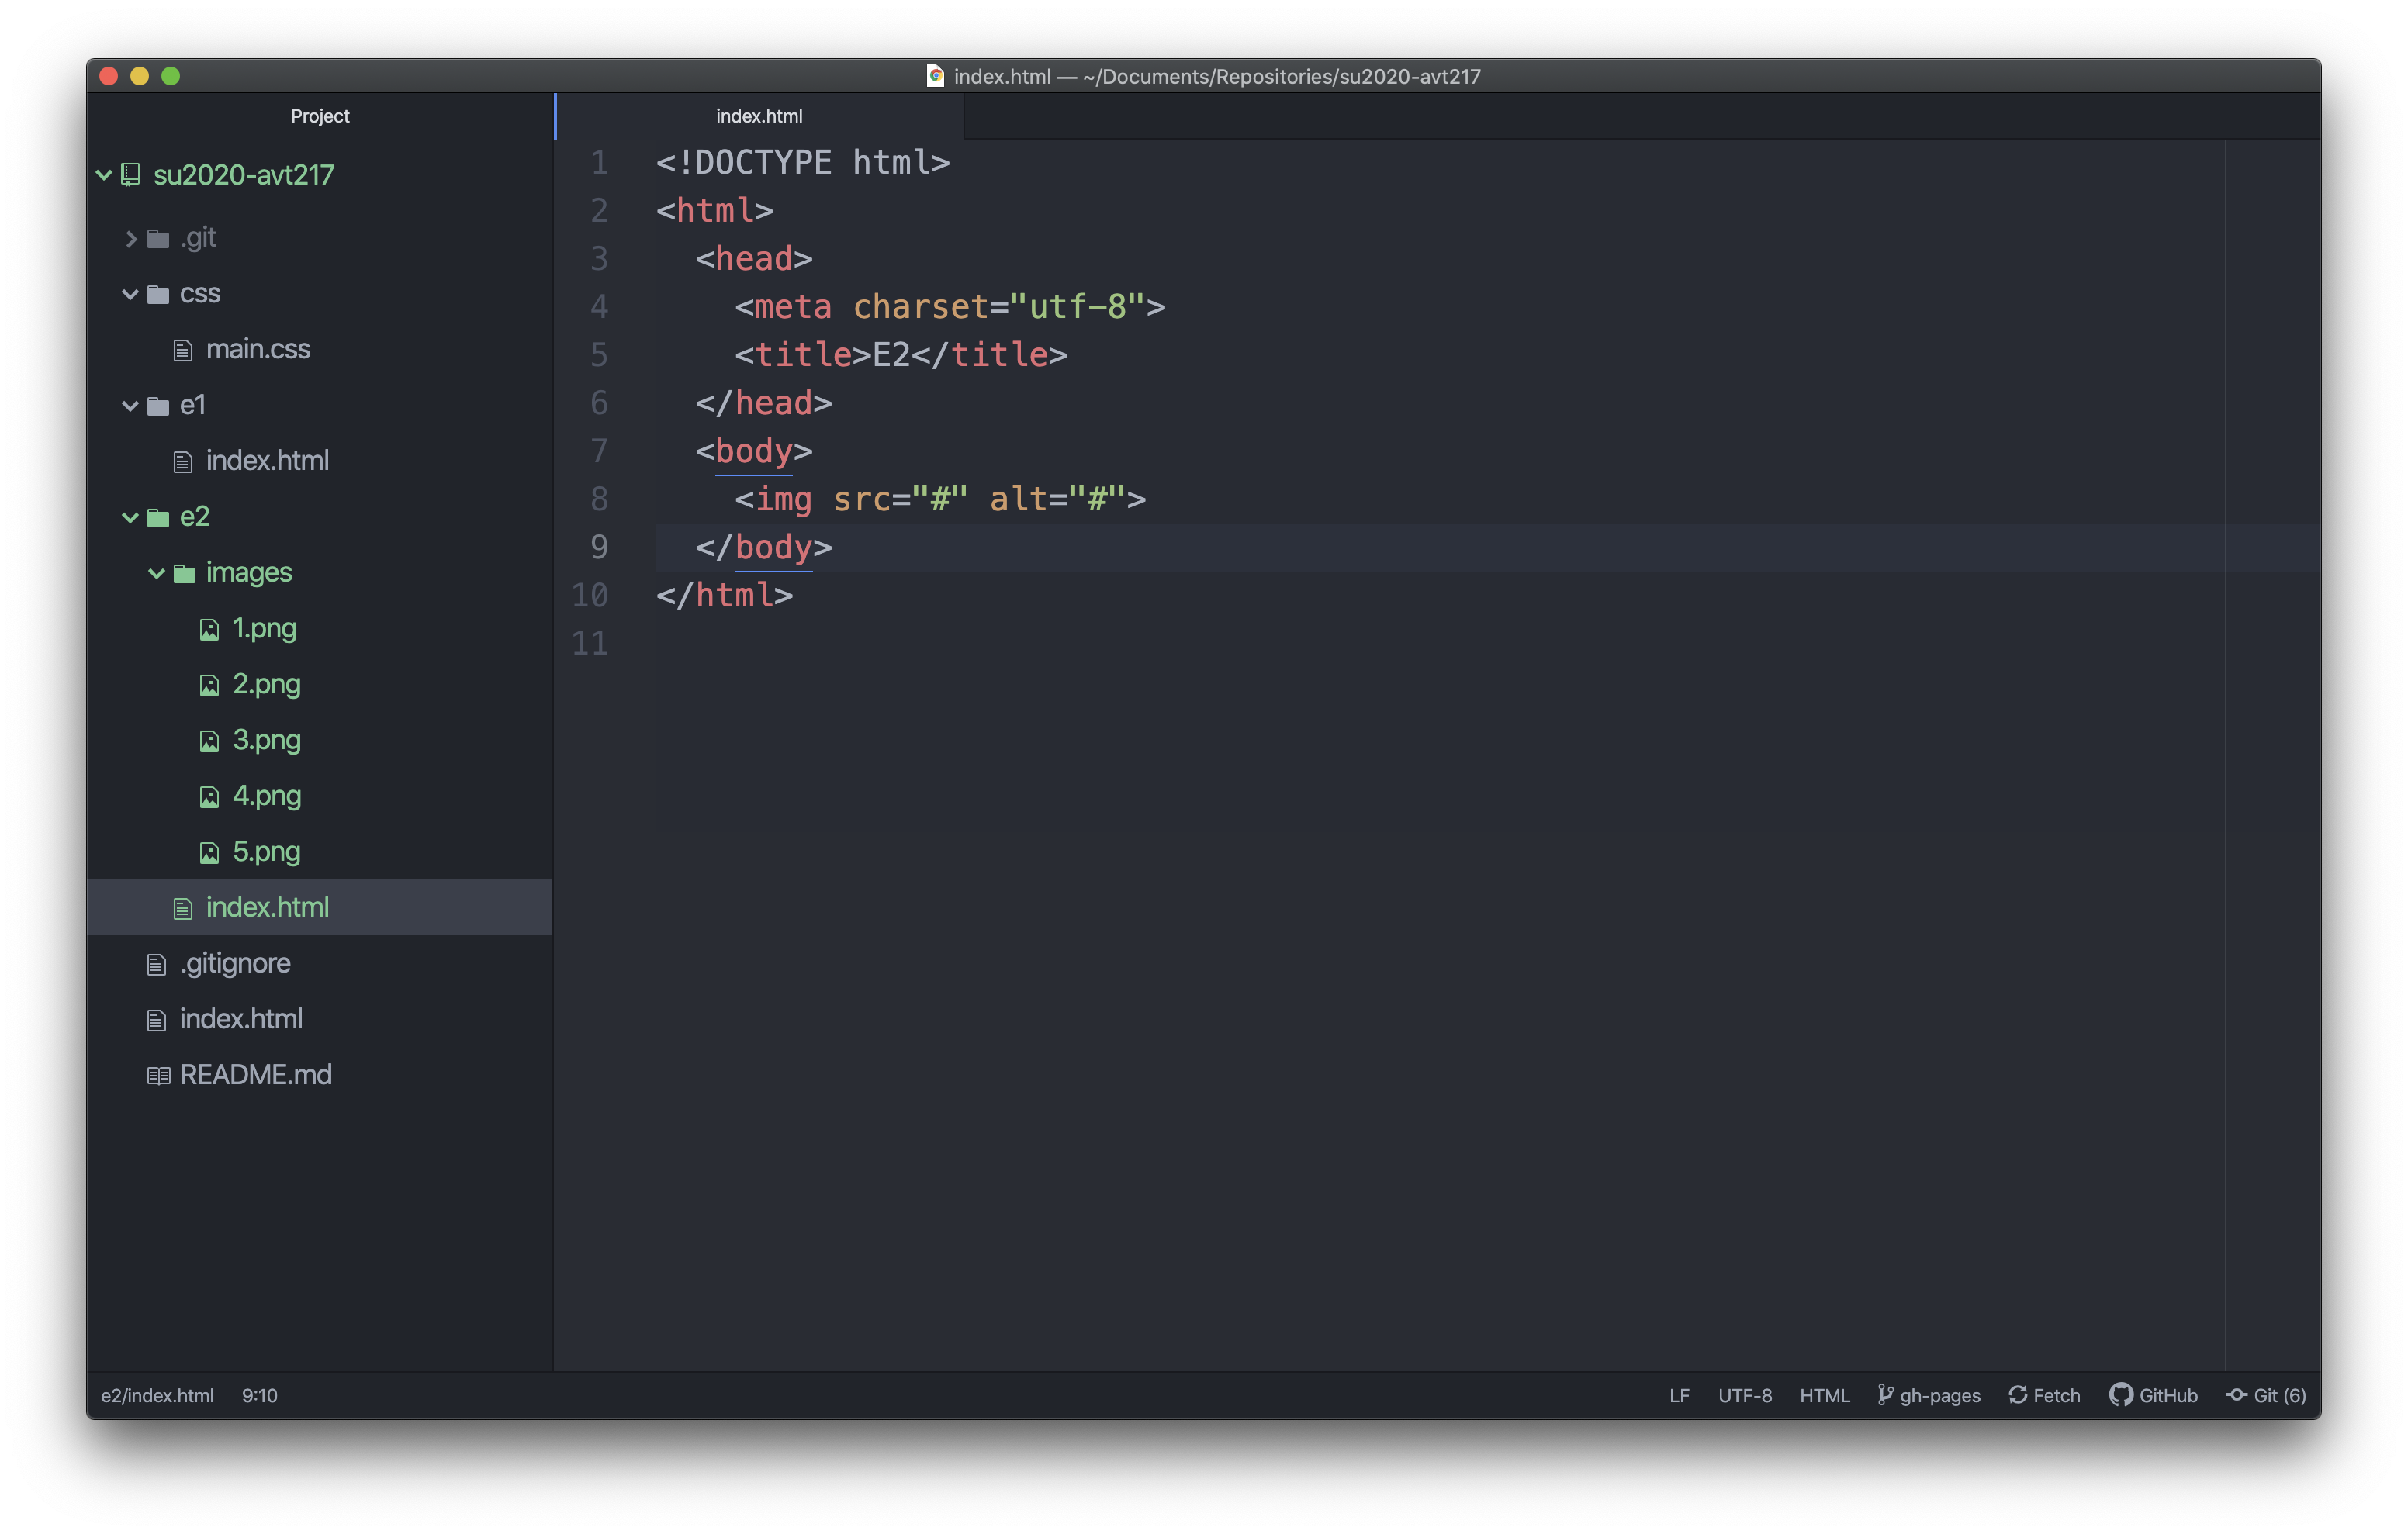
Your HTML file should still be open but if it isn’t make sure your HTML file in the Exercise 2 folder is open and add in the minimum HTML set up, give it a descriptive title and then save the file.

Step 4: Add an Image
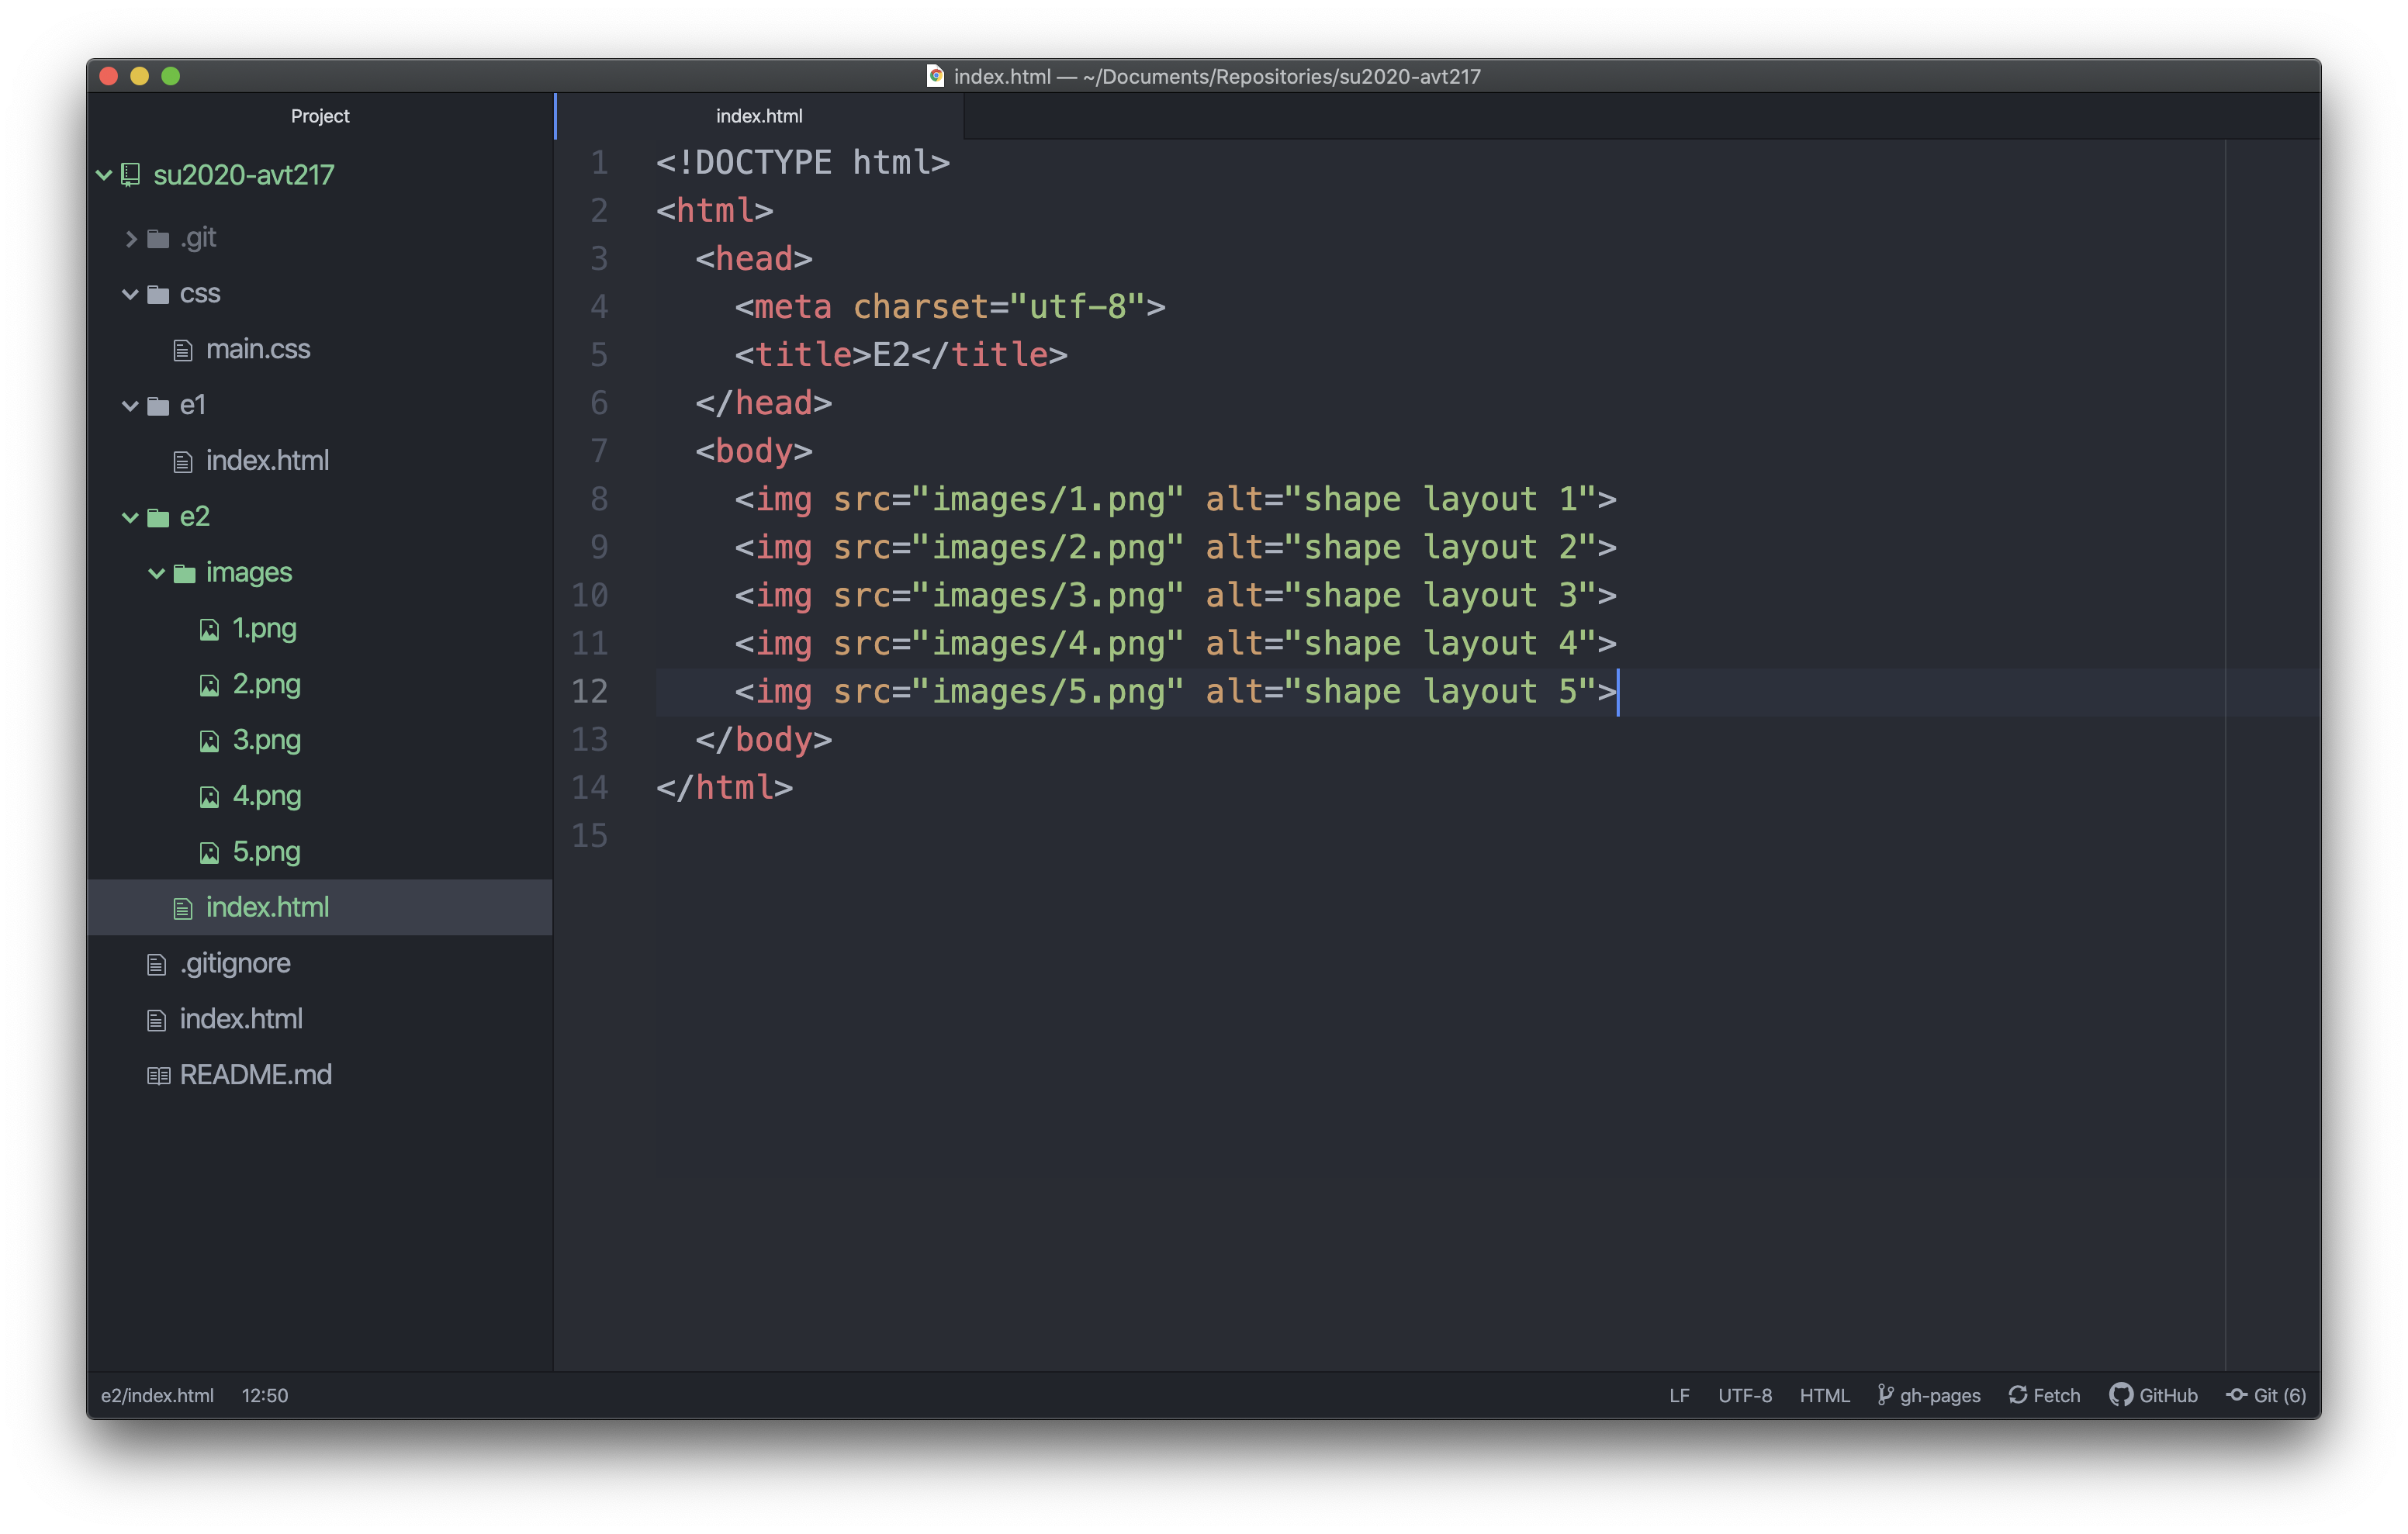
To get images to display on your page you need to add the image element <img>. The image element needs two attributes, src and alt. The src attribute is where the path to the image file goes and the alt attribute holds text to display if the image link is broken or the user is using a screen reader. The image element is also an empty element so there is no content or closing tag.
In the body add an image element, <img src="#" alt="#">. Make sure it is indented one level since it is a child of the body.
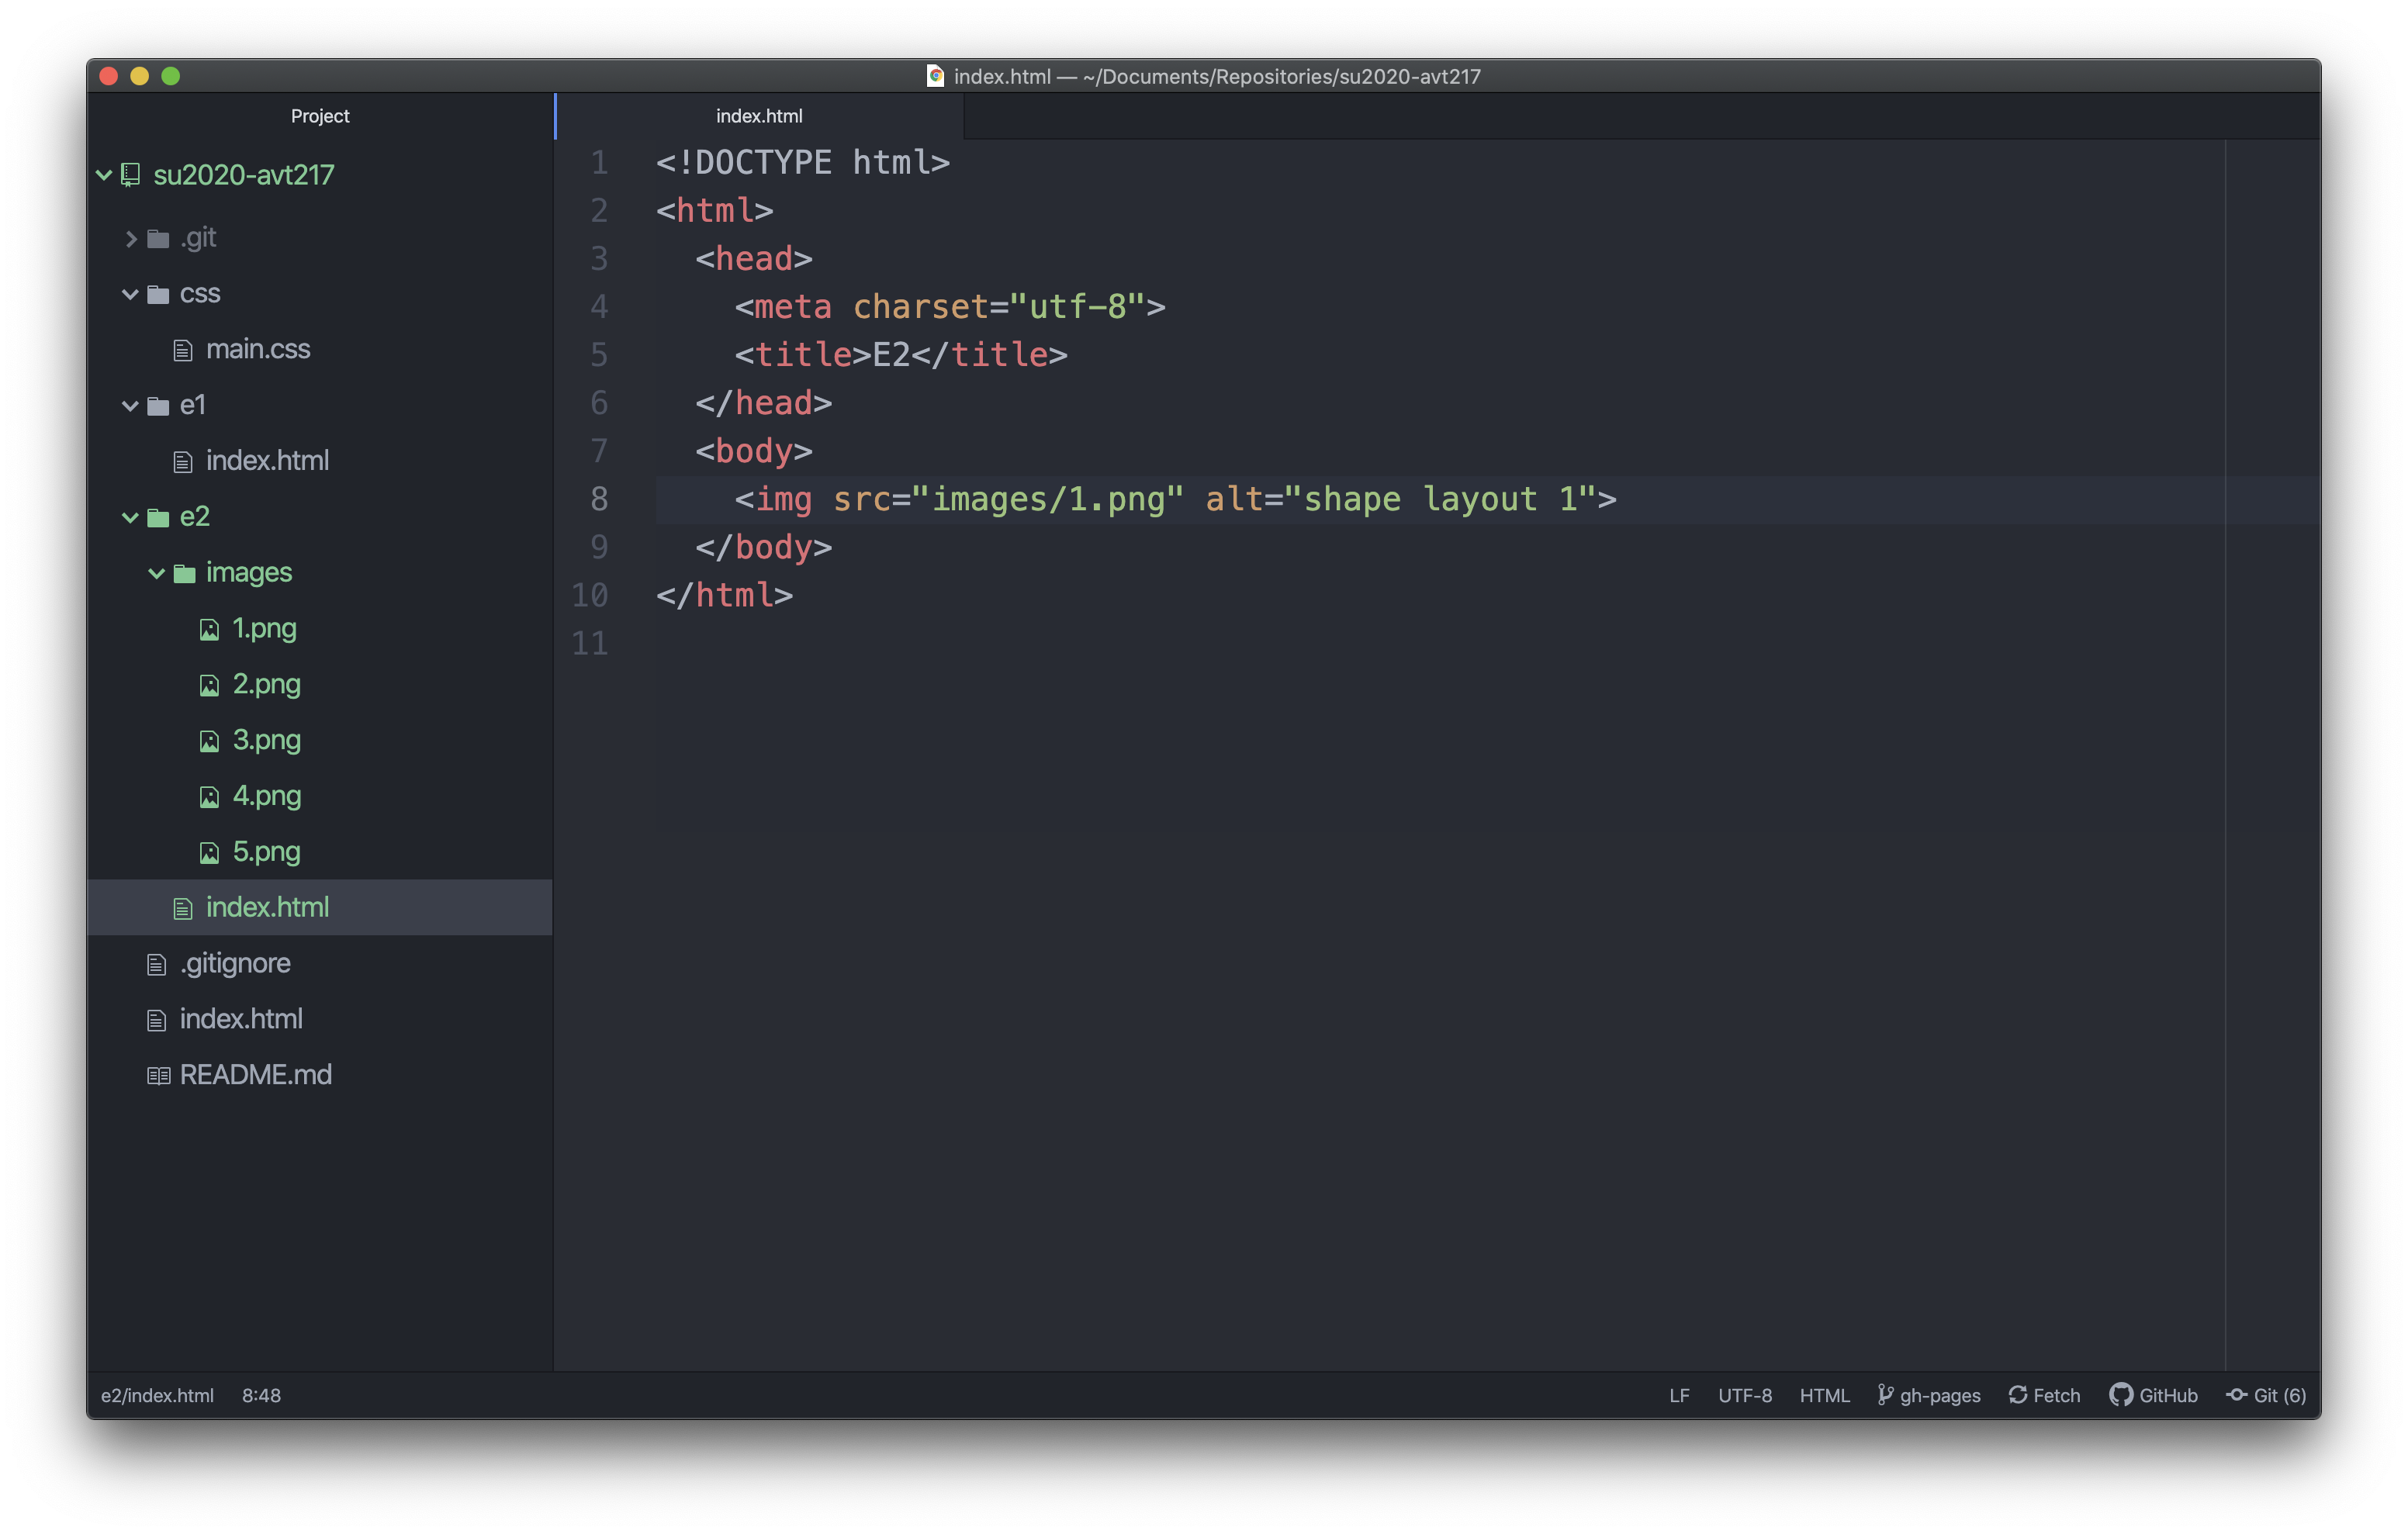
Now replace the two attributes with the appropriate values. src – src=”images/1.png”. alt - alt=”shape layout 1”. Once again the path in the src attribute is dependent on your folder and file naming. This path works for my file and folder naming, if yours is different the path needs to be different.
Before you add the other images it is worth saving the file and checking to see if everything is working in the browser. Once you have checked and verified that the image is displaying on the page, repeat this step four more times to add all of your images for Exercise 2 onto the page.
Step 5: Link to Exercise 2
The last step is adding a link to your main page for Exercise 2. So open up your index.html file in your root directory and add in an anchor element, <a href="#">...</a> for Exercise 2. Make sure you are wrapping the text inside the list item for Exercise 2 and make sure you have an opening tag and closing tag. The value for the href attribute is dependent on your folder and file structure.

Make sure both files are saved and preview the homepage and test to see if the link for Exercise 2 is working. If it is, great! You can open up the Github App and push the changes you just made. If it isn’t working, check to make sure all your syntax, spelling, and paths are correct and try it again. If it still isn’t working, ask for help.
Step 6: Add E3, E4, and E5
You should now be able to add all the image files for your exercises to an HTML page and links to access those pages. Try that for practice. The end result should look something like our class demo repository.
Back to Tutorials