2. Intro to Xd
This tutorial will go through some of the basic features of Adobe Xd and help with your file setup for E2: Make the Grid.
Step 1: Download/Install/Open Adobe Xd
If you don’t have Adobe Xd yet you can download it here. Xd should be free but I think you will need an Adobe account to use the program. Once you have it downloaded, install it and open it.
Step 2: Create a New Document
When you open up Xd you should be presented this screen.

On this screen look at the top row of sizes and in the “Custom Size” option type 1440 for the width, 3000 for the height, and then hit enter. The base unit for Xd is pixels, so unless otherwise specified, numbers are pixels.

Once you see the artboard you just created you can double click on the text at the top left of the artboard that says “custom-1” and change the name. Not entirely necessary but a good habit to get in as you build more complex sites in Xd.
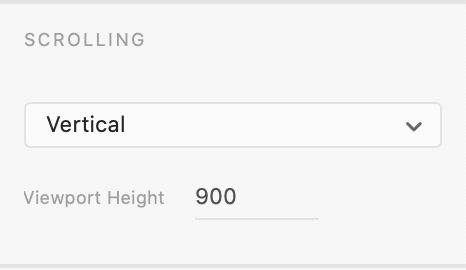
One more thing you might want to change is the “Viewport Height” option in the right sidebar under “Scrolling”. This is probably set to 3000 as the default and I would suggest moving it to 900. What this does is adjust the height that Xd previews when you hit the play icon in the top right. Not so useful for Exercise 2 but very useful for designing actual sites.

Finally, save the document before you move on to the next step. Adobe wants you to use the cloud to save your documents so if you want to use that you can go to File > Save… or use cmd+s. If you do not want to use the cloud to save your documents you can go to File > Save as Local Document… or use opt+shift+cmd+s. Save this as some version of e2 or exercise2.
Step 3: Create a Grid
Before you start adding anything to your artboard you want to set up a grid. This is accomplished by finding the grid section of the right sidebar and checking the box next to the layout dropdown. When you check that box it will bring up options for you to create your grid.

- Columns – How many columns are on the artboard. Also if you click the color to the left of the word “Columns” you can change the column color and opacity.
- Gutter Width – The width between the columns
- Column Width – The width of each column
- Two Icons – The first sets the margins for the left and right equally. The second allows you to set the margins independently. Generally leave it on the first option.
Play around with these options and see what happens. There is no particular number for columns, widths, or gutters so it is up to you. In Exercise 2 you will be making 5 different artboards with 5 different grids so you can see what works well for you.
Step 4: Add a Polygon
This tutorial is built around Exercise 2 so the content you will be adding to your artboard are shapes. In the left toolbar there are a few different shape tools you can use — rectangle r, ellipse e, and polygon y. The rectangle and ellipse tool draw what they say and if you hold shift while drawing the shape you will get a square or a circle. The polygon tool is a little different so choose that one or press y.
By default the polygon tool draws a triangle and if you hold shift it will draw and equilateral triangle. Draw a triangle on your artboard and make sure it aligns to the grid you made. The mouse should snap to the edges of the columns.

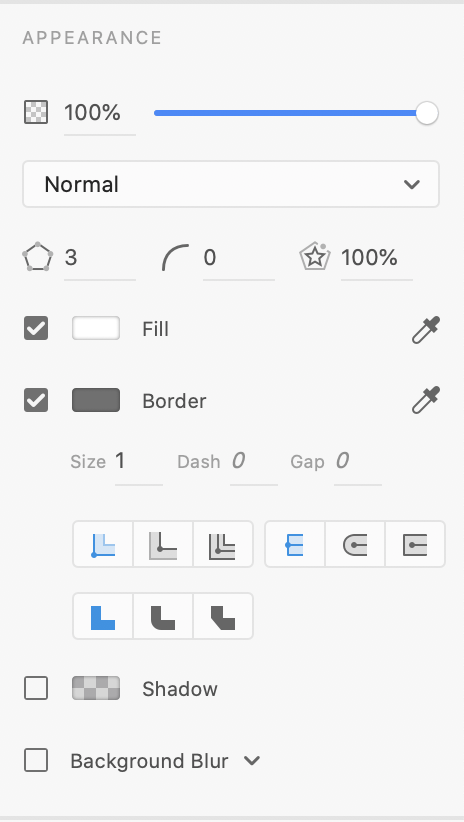
The default drawing of the triangle for me is a white fill with a grey border. The options in the “Appearance” section in the right sidebar are generally the same for the rectangle and ellipse tools but the polygon tool has a few added options to control what the polygon looks like. Any option with a checkbox next to it means you can turn it on or off using that checkbox and the settings are saved.

- Opacity Slider – Change the opacity of the shape.
- Blend Mode Dropdown – Set the blend mode for the shape.
- Corner Count – Adds more corners to the shape. 3 corners is a triangle, 4 is a diamond, 5 is a pentagon, and so on.
- Corner Radius – Rounds the corners.
- Star Ratio – Bends the sides in to make star like shapes.
- Fill – Click on the rectangle to change the color, click on “Solid Color” at the top to change the kind of fill (Gradients!).
- Border – Click on the rectangle to change the color.
- Border Size – Change the size of the border.
- Dash – Make a dashed line, pairs with the Gap option to control the look of the dashed border.
- Border Alignment Icons – Aligns the border to the Inner, Outer, or Center of the stroke.
- Border Cap Icons – Sets the end caps as Butt, Round, or Projecting.
- Corner Join Options – Sets the corner join as Miter, Round, or Bevel.
- Shadow – Click on the set shadow color.
- Shadow Options – If a shadow color is selected these options will appear, X and Y adjust the offset from the shape and B adjusts the blur of the shadow.
- Background Blur – Uses shape as a mask to blur the elements behind it, three slider options to control blur amount, brightness, and effect opacity.
- Object Blur – Blurs the object itself, one slider option to control blur amount.
Step 5: Add More Shapes
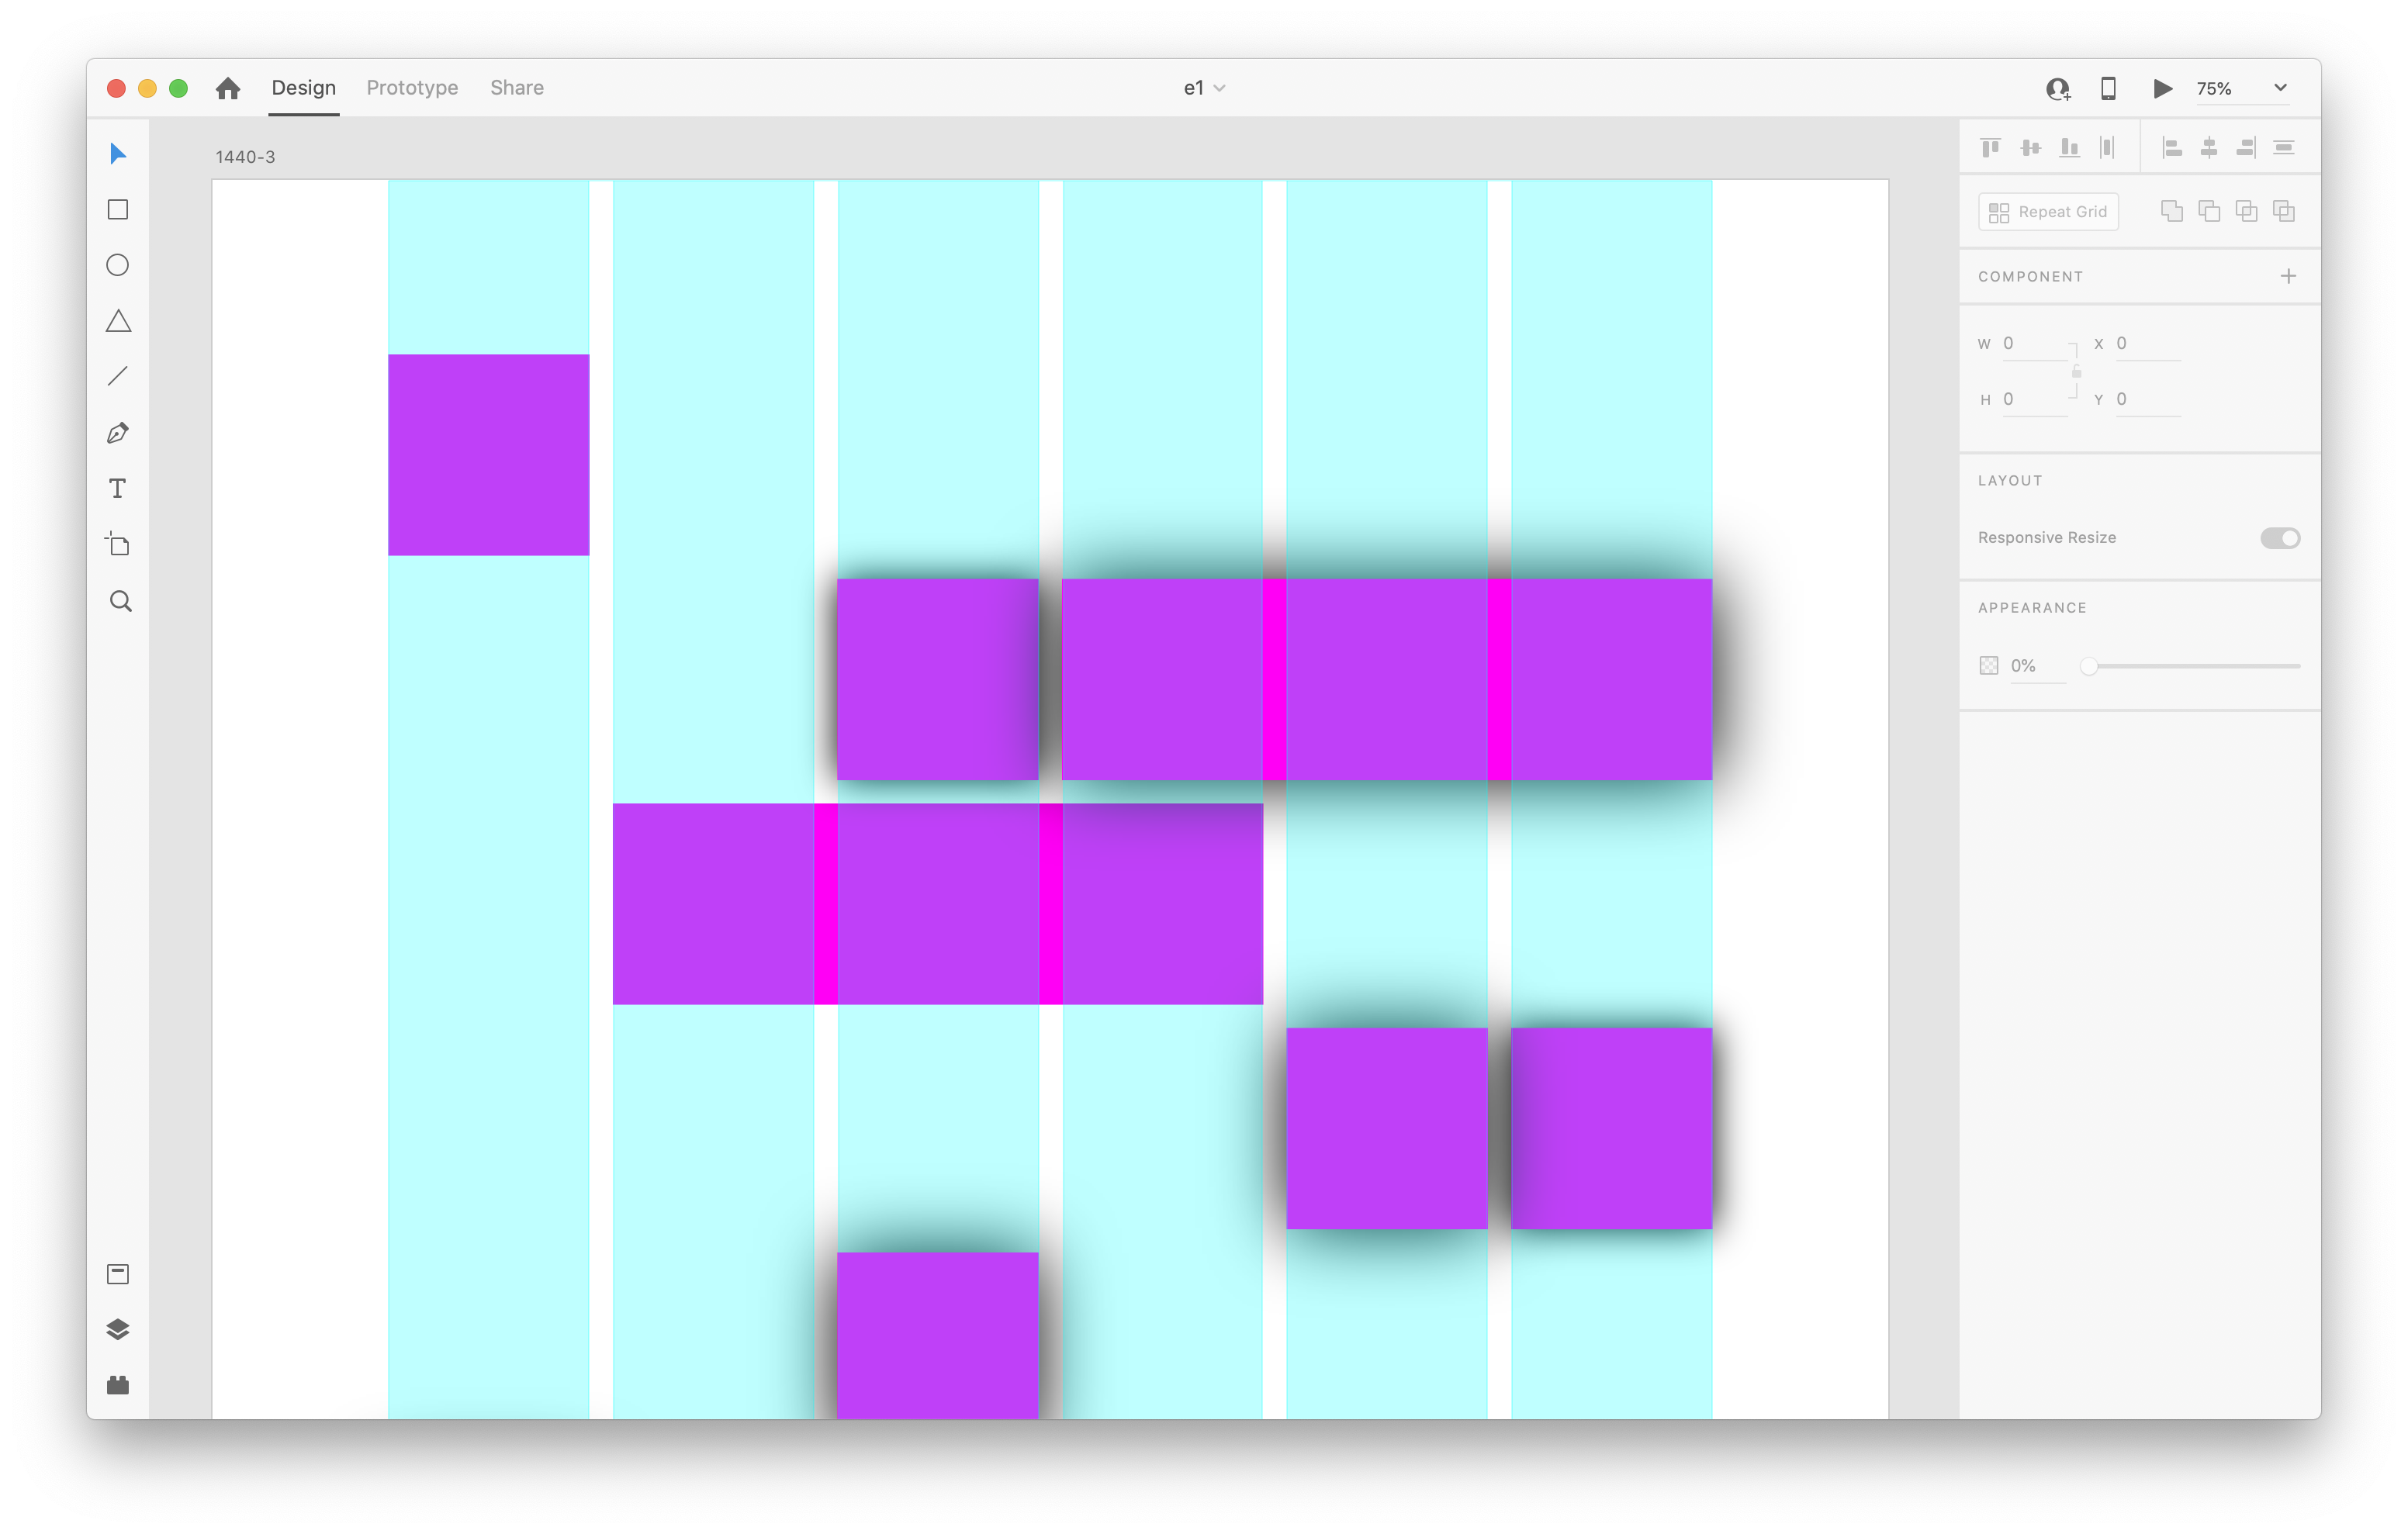
Now, using the grid you set up, add more shapes to create a layout. The layout will be relatively abstract and you do not need to make it feel like it could be a real webpage. Feel free to play with the appearance settings for your shapes and make sure you align the shapes to the grid. Also keep in mind white space and the idea that not ever inch of the artboard needs to be covered with shapes. Even space or proportional space between items is generally better than random space.

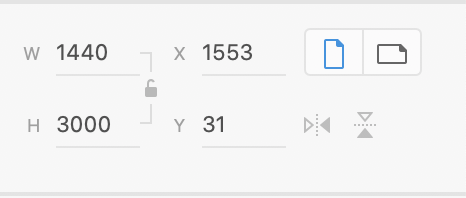
Once you have finished with your layout you can make another artboard by clicking the Artboard tool in the left sidebar or pressing a. You can then draw the artboard just like any other shape and adjust the dimensions to 1440 x 3000 in the transform settings in the right sidebar.

Make a different grid for this artboard and add some more shapes to it just like you did for the first artboard.
Step 6: Export Artboards
Once you have five artboards with different grids and different layouts on them, it is time to export. To export the artboards go to File > Export > All Artboards…. In the pop up window choose your location and then set the “Format” to PNG, “Export For” to Design, and then click “Export All Artboards”.

Now you should have five PNG files that are all 1440px by 3000px. If they are not that size you might have exported at a different size or you didn’t make your artboards the right size. In either case, go back through these steps and make sure the files are the correct size.
Back to Tutorials